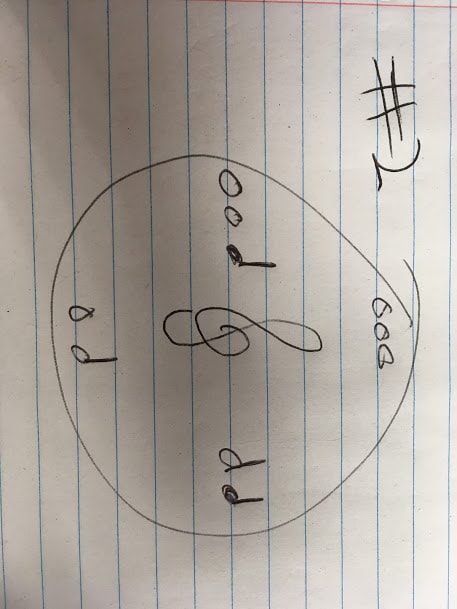
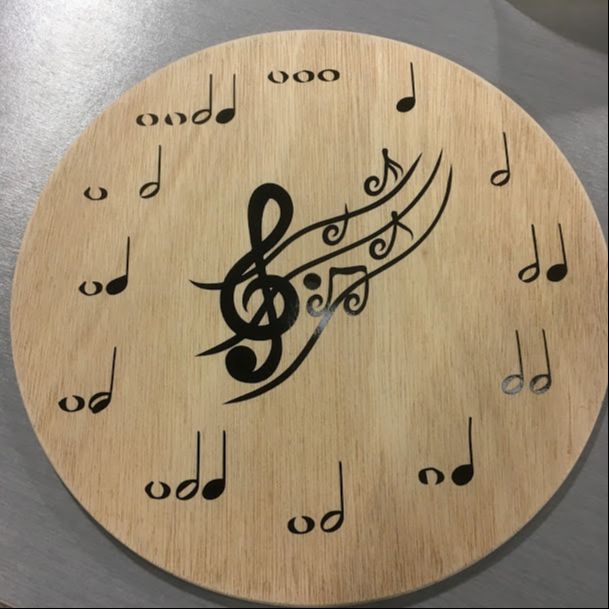
This project entailed a lot! The plan changed, but I'm pleased with the final result. I had a few different plans, but I'll focus on the one I ended up going with. My design use three different machines, the laser, the vinyl cutter, and the 3D printer. The design for the vinyl is below.
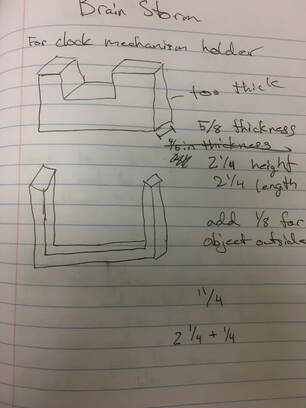
I had an initial, basic brainstorm of what I wanted to do .
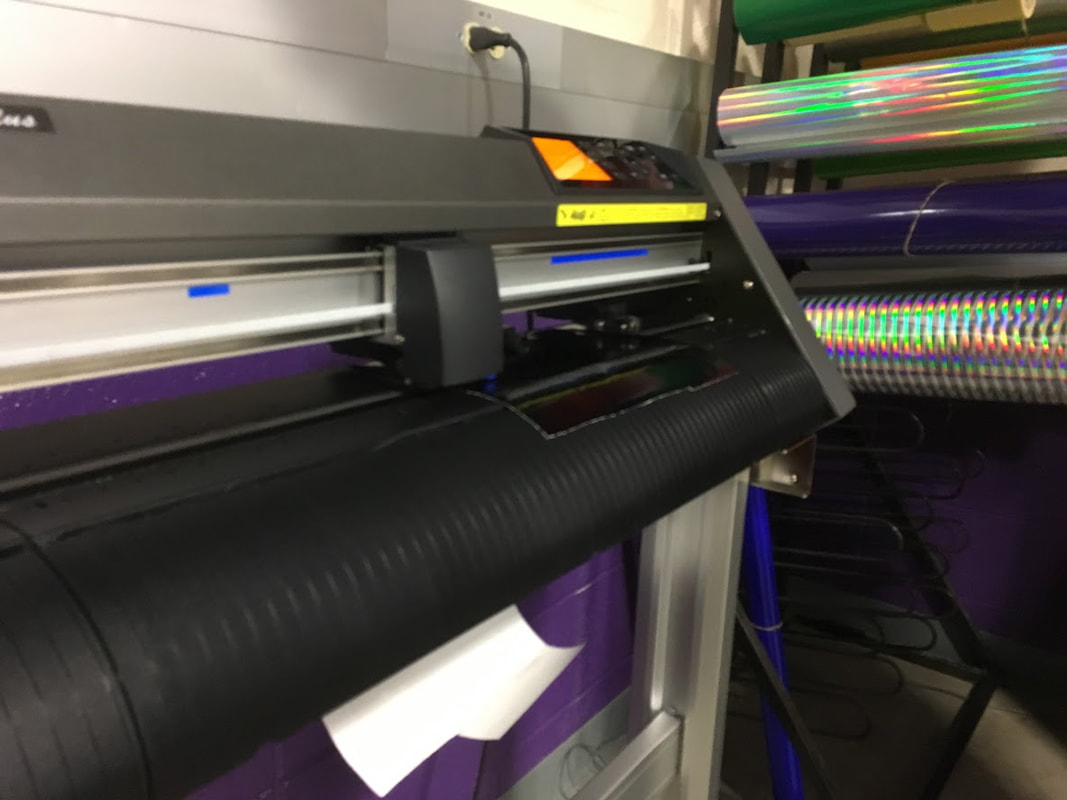
After I created the design I printed it using the vinyl cutter.
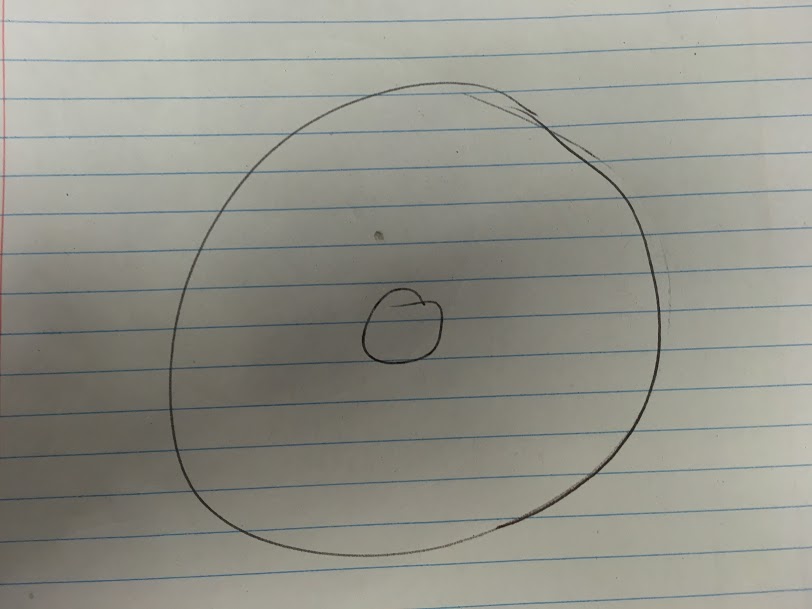
The I needed the back of the clock to mount my design on. I whipped out a donut shape to print with the laser. I even remember to change the outline to red to it would cut.
My initial brainstorm for the wooden base of the clock was as followed.
My initial brainstorm for the wooden base of the clock was as followed.
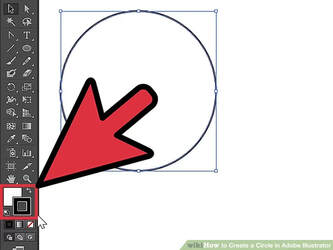
The I uploaded the file and cut it out.
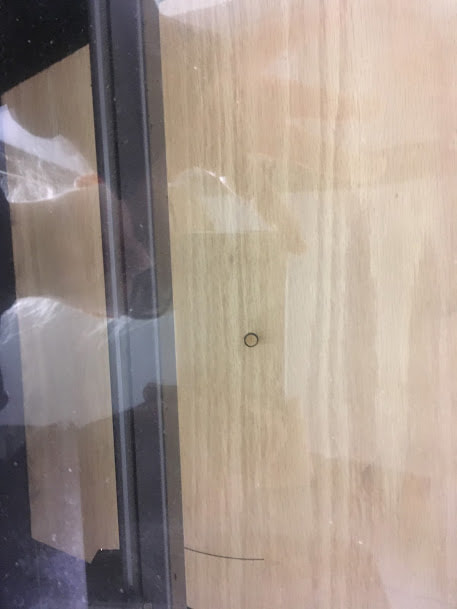
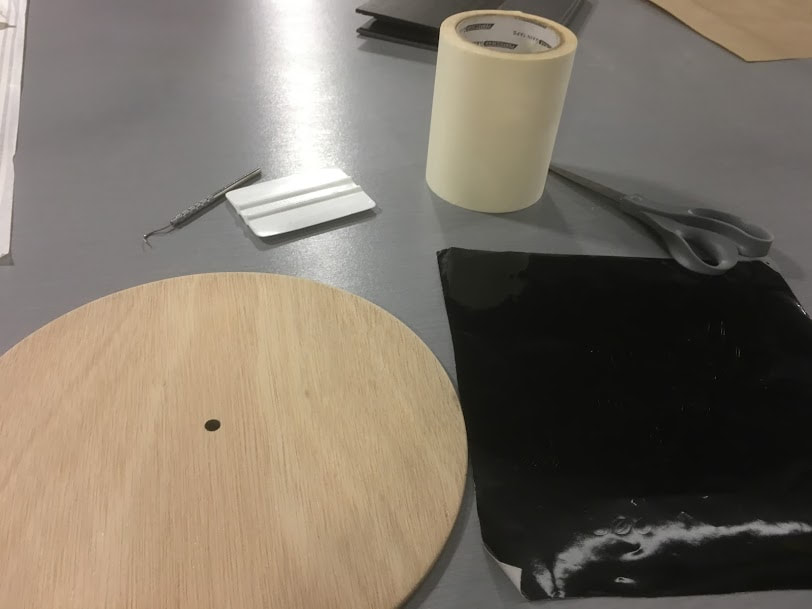
After sanding away the burn marks on the edges I was ready to put the vinyl on.
I initially forgot to weed the vinyl but I went back and fixed it.
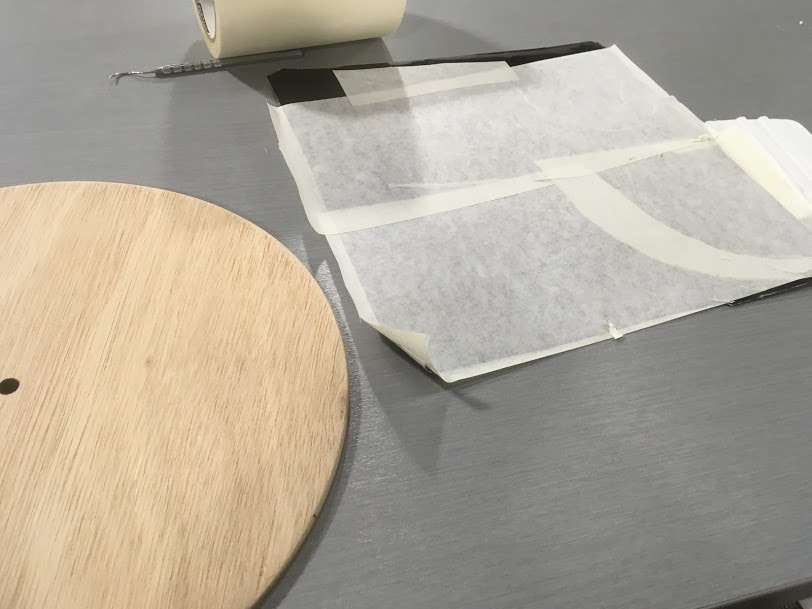
After the weeding was done I use transfer tape to transfer the vinyl onto the back of the clock.
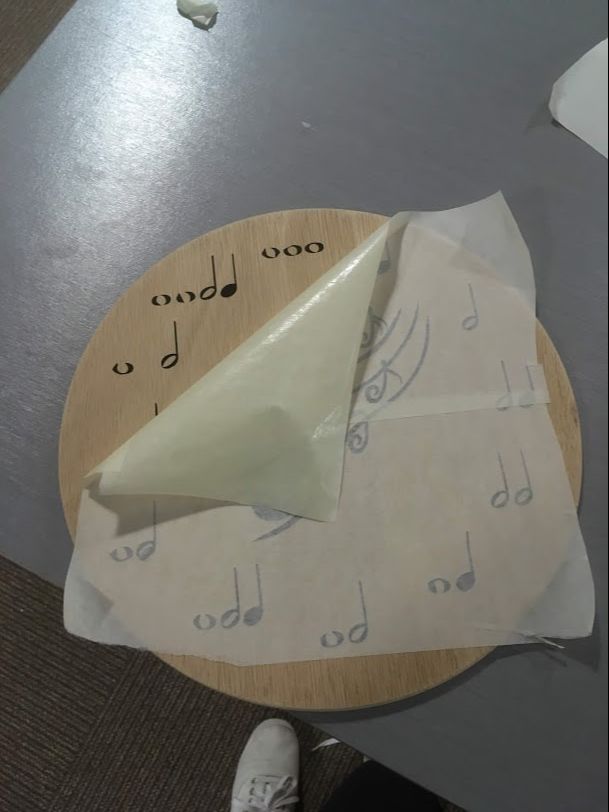
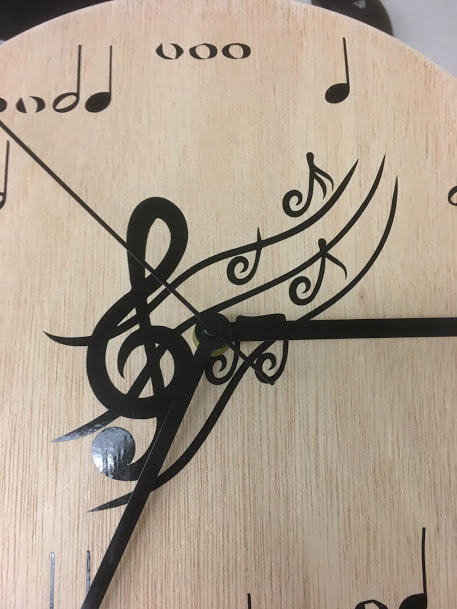
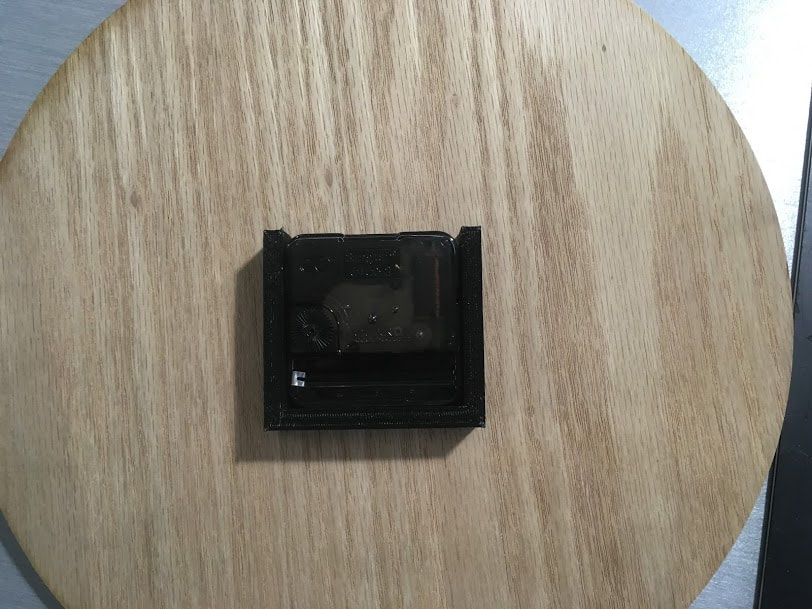
After I had finished the transfer I just had to get the back pin that holds the clock in place.
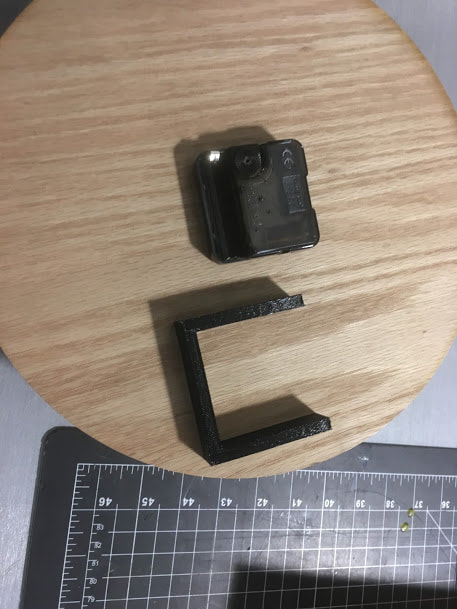
First I put in the clock mechanism so I'd know where to place the 3D printed pin.
This was my initial brainstorm for the pin.
I started making the pin in inventor, I was really nervous about getting the dimensions right.
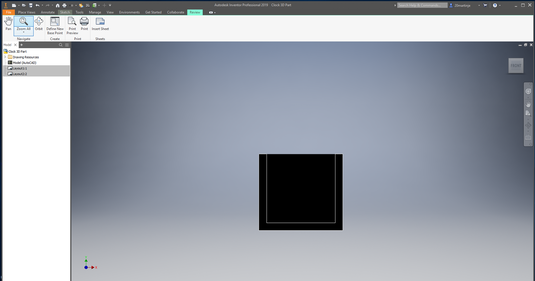
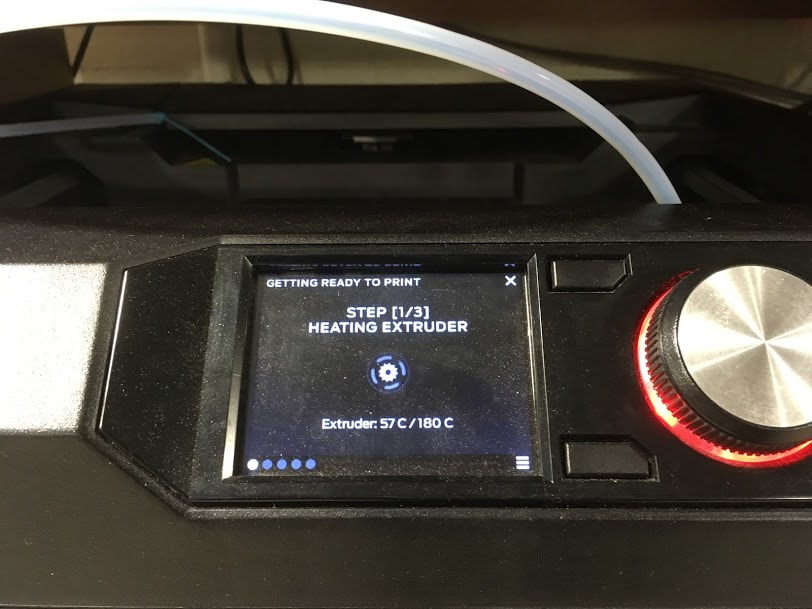
Then the file was converted into makerbot.
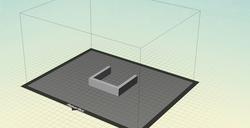
I went in before contact time of the last day of class and set up the pin to print.
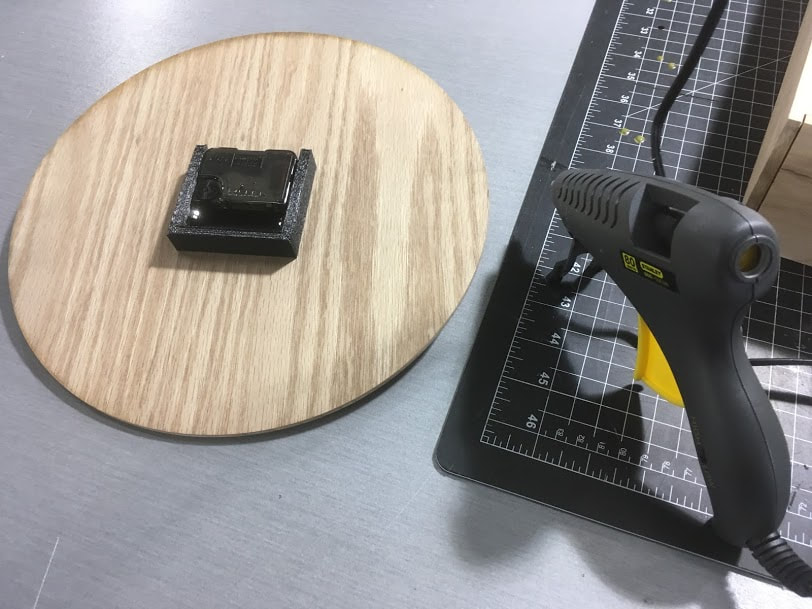
The piece fit perfectly!
I hot glued it into place.
Finished Final Project
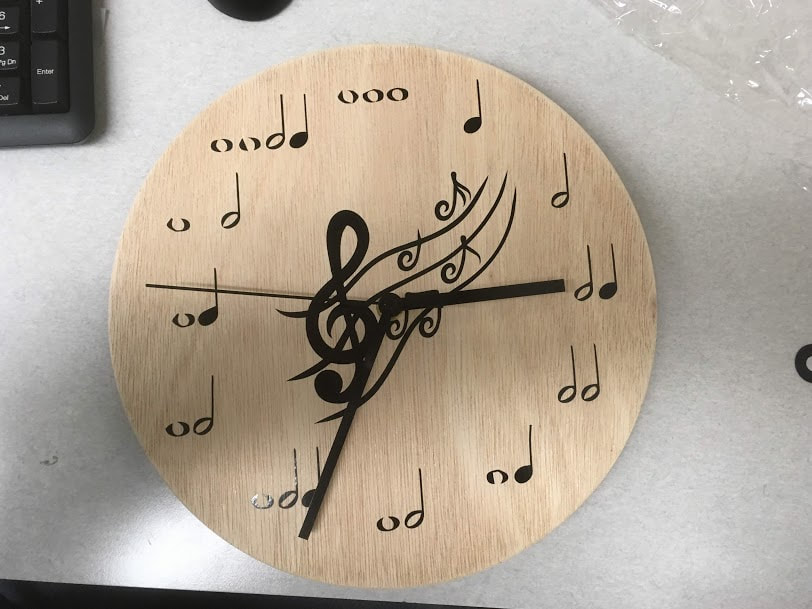
Summary: I learned a lot more about how quickly you can get a project done. Being efficient and not overthinking things can go a long way in improving time management. This project was mostly just a confidence boost that I can use these tools well. I learned more about design in choosing how I wanted this project to look. I'm just super glad it looks good and that I was able to learn a lot this semester.
