Illustrator
Illustrator is a two dimensional computer program with many tools to create and edit uploaded or designed images. These images can be exported to be printed with lasers and vinyl cutters.
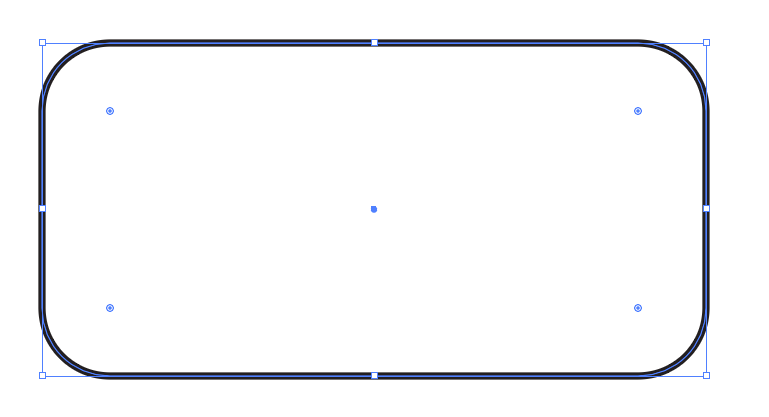
Step 1: Open Illustrator and start a page marginally bigger than the product you want to create, as shown in the first (top right) image
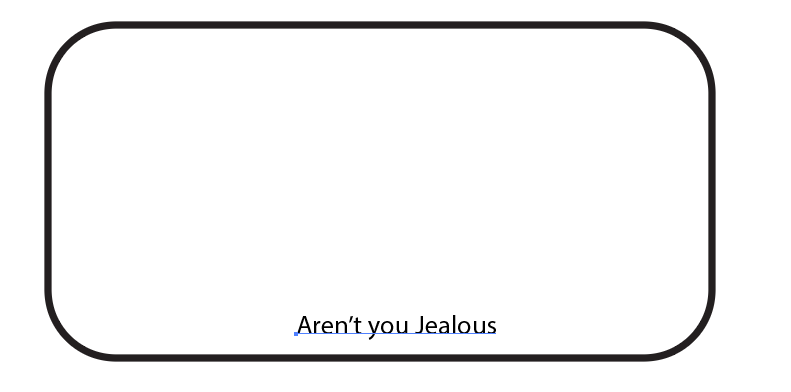
Step 2: To create text use the text tool on the left hand side to create a text box. Choose the words you want and then expand it to be in vectors rather than pixels. You can now drag it to where you want and proportionally change it's size by holding shift and dragging one corner. This step is shown in the second image (top middle).
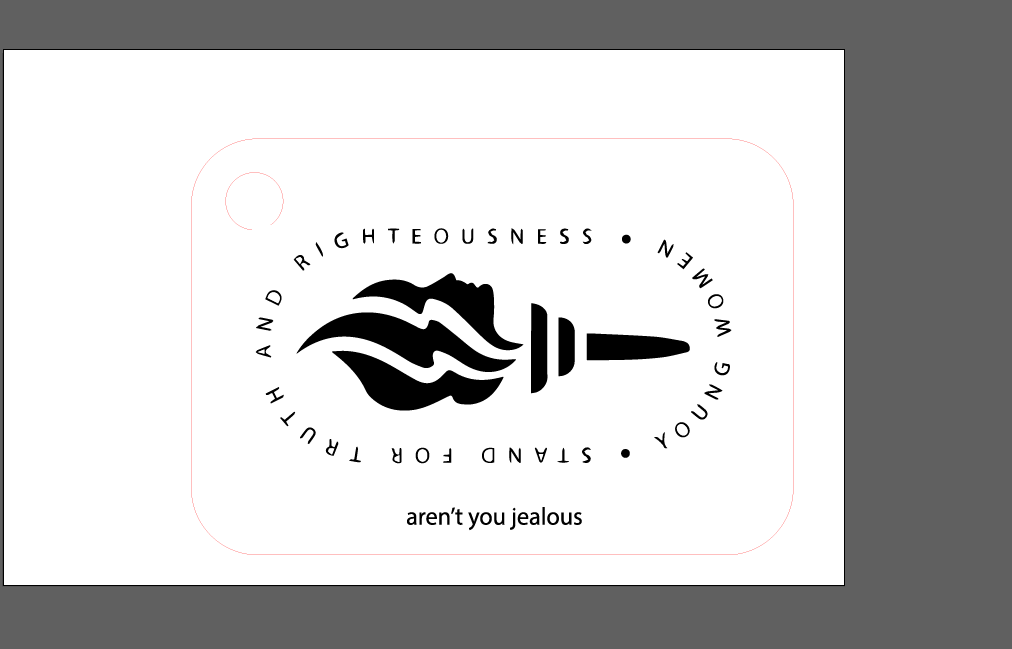
Step 3: Choose an image, preferably a black and white clip art. Copy it onto the illustrator page. First convert it into vectors like in step two. Then Change it's size and position to what you want.
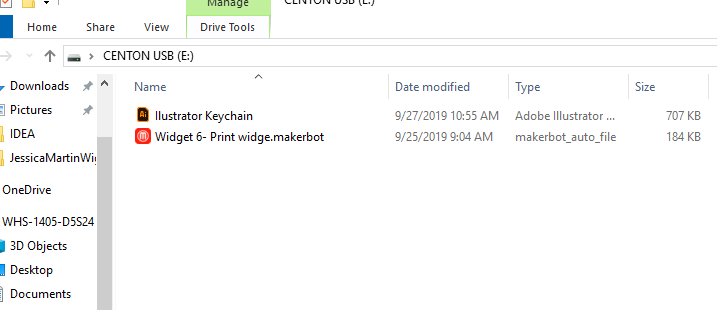
Step 4: Save the page you created to your flash drive and do a little victory dance because now you get to use the laser.
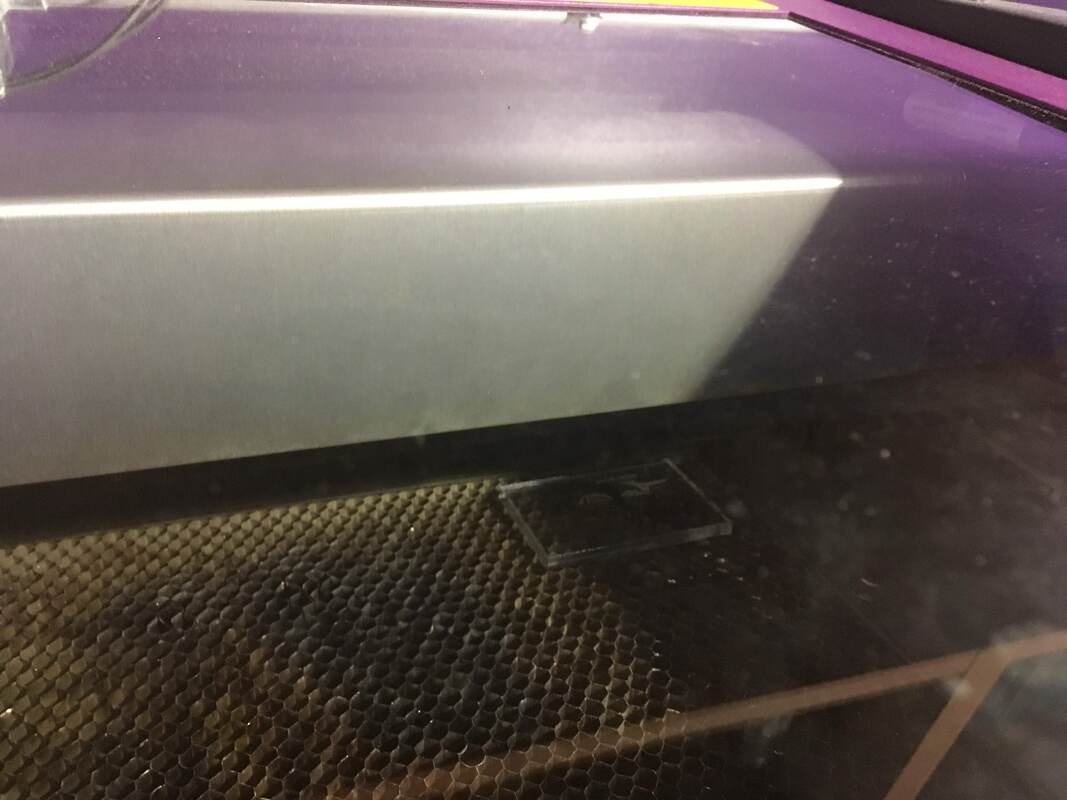
Step 5: Choose a piece to print on and follow the directs to finish printing the instructions paper to get the measurements and computer settings right.
Step 6: Make sure that the dimensions of the laser are all on the piece you are engraving.
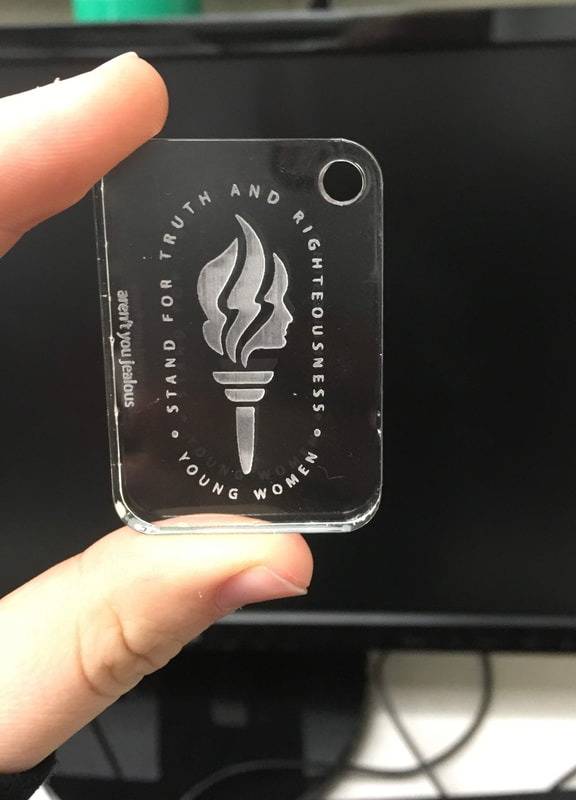
Step 7: Push play and watch your design come to life.
Step 2: To create text use the text tool on the left hand side to create a text box. Choose the words you want and then expand it to be in vectors rather than pixels. You can now drag it to where you want and proportionally change it's size by holding shift and dragging one corner. This step is shown in the second image (top middle).
Step 3: Choose an image, preferably a black and white clip art. Copy it onto the illustrator page. First convert it into vectors like in step two. Then Change it's size and position to what you want.
Step 4: Save the page you created to your flash drive and do a little victory dance because now you get to use the laser.
Step 5: Choose a piece to print on and follow the directs to finish printing the instructions paper to get the measurements and computer settings right.
Step 6: Make sure that the dimensions of the laser are all on the piece you are engraving.
Step 7: Push play and watch your design come to life.
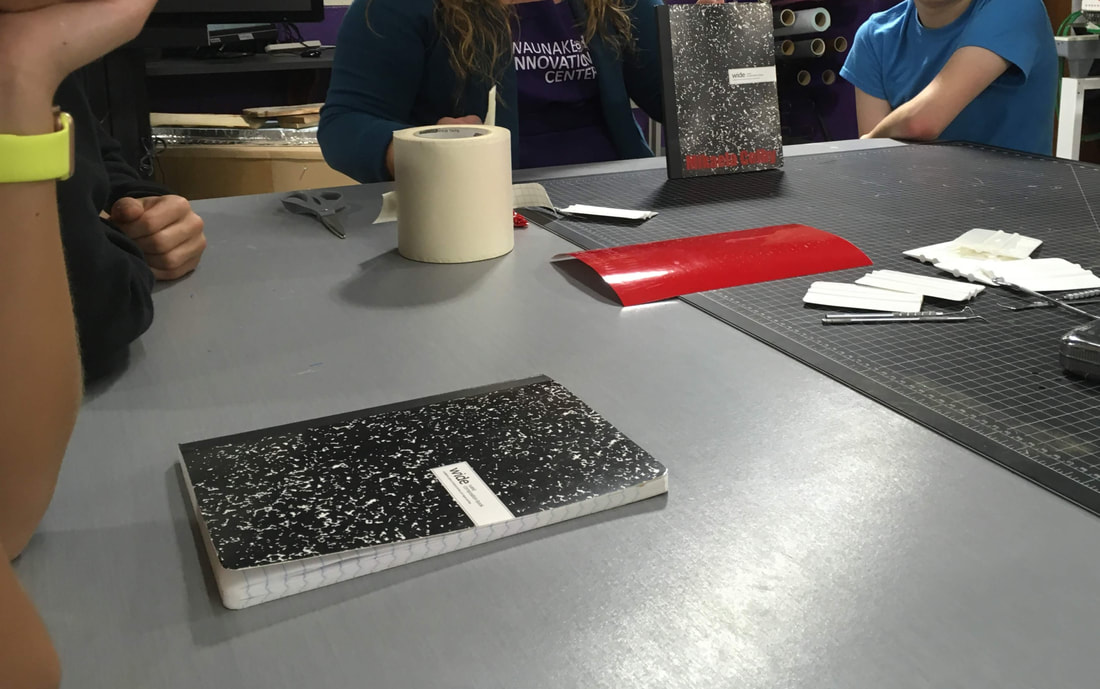
Applying Vinyl to the notebook
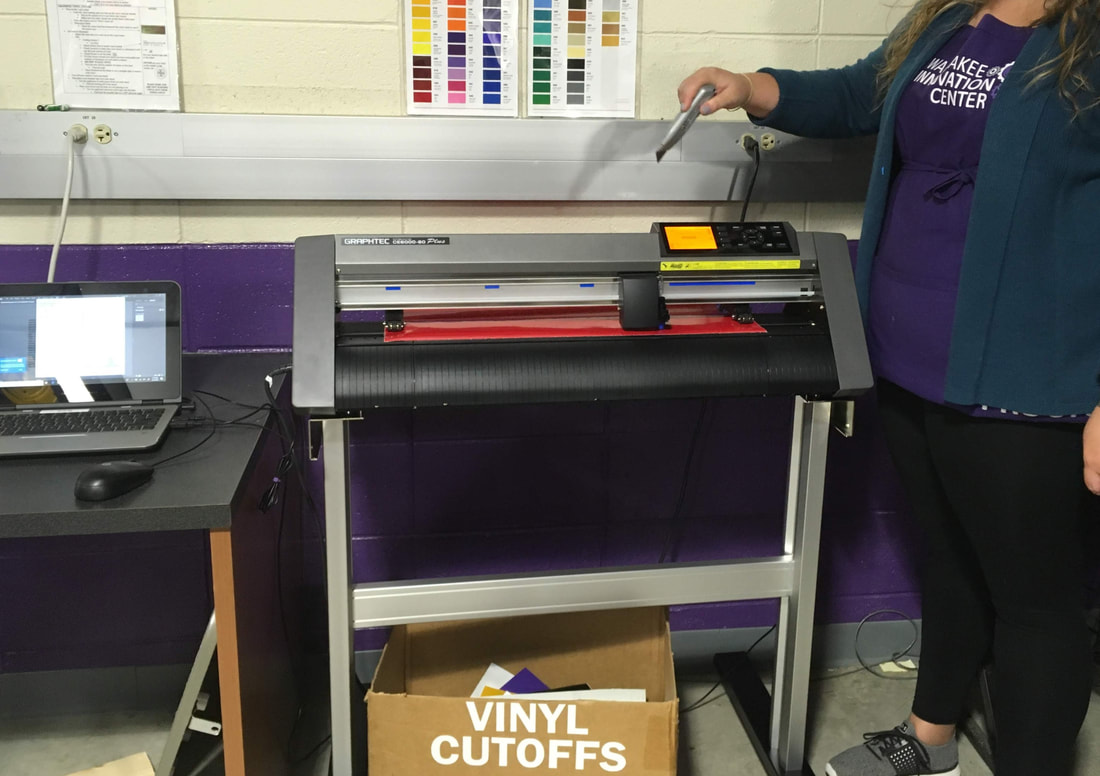
1) Turn on and load vinyl cutter
2) Upload your design from your flash drive
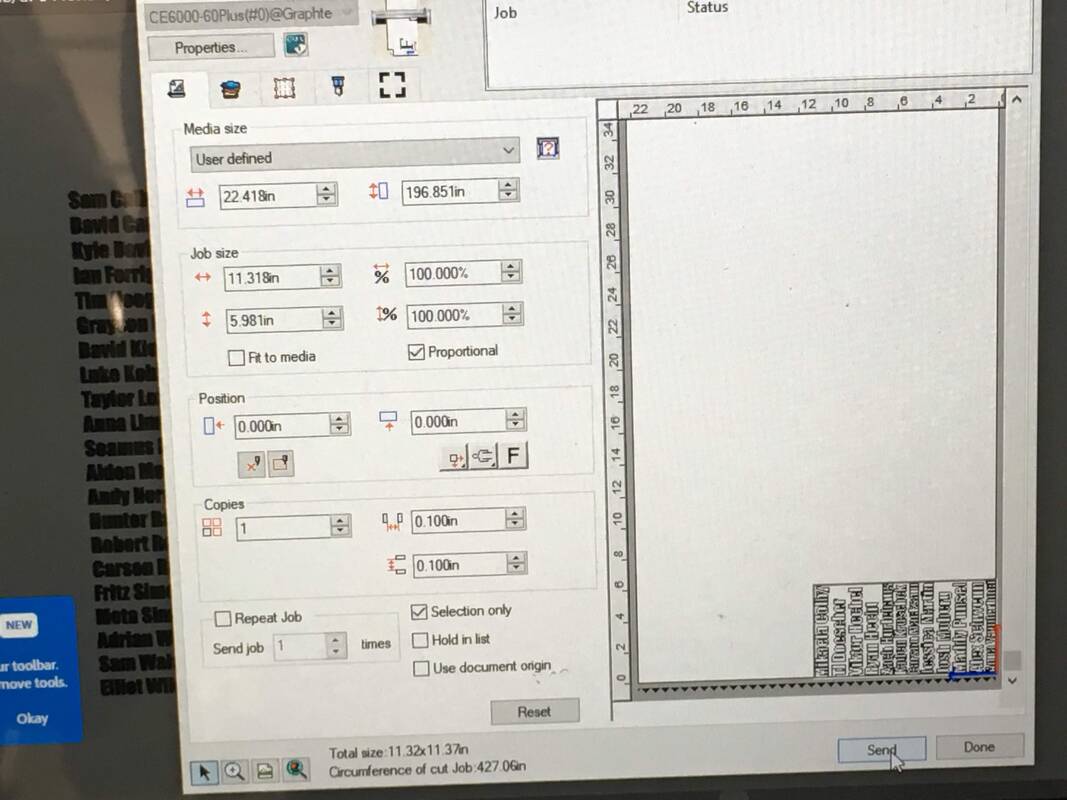
3) Follow the directions on the sheet to print the image, making sure the image shows up on the bottom right hand side of the printing preview
4) Print Vinyl
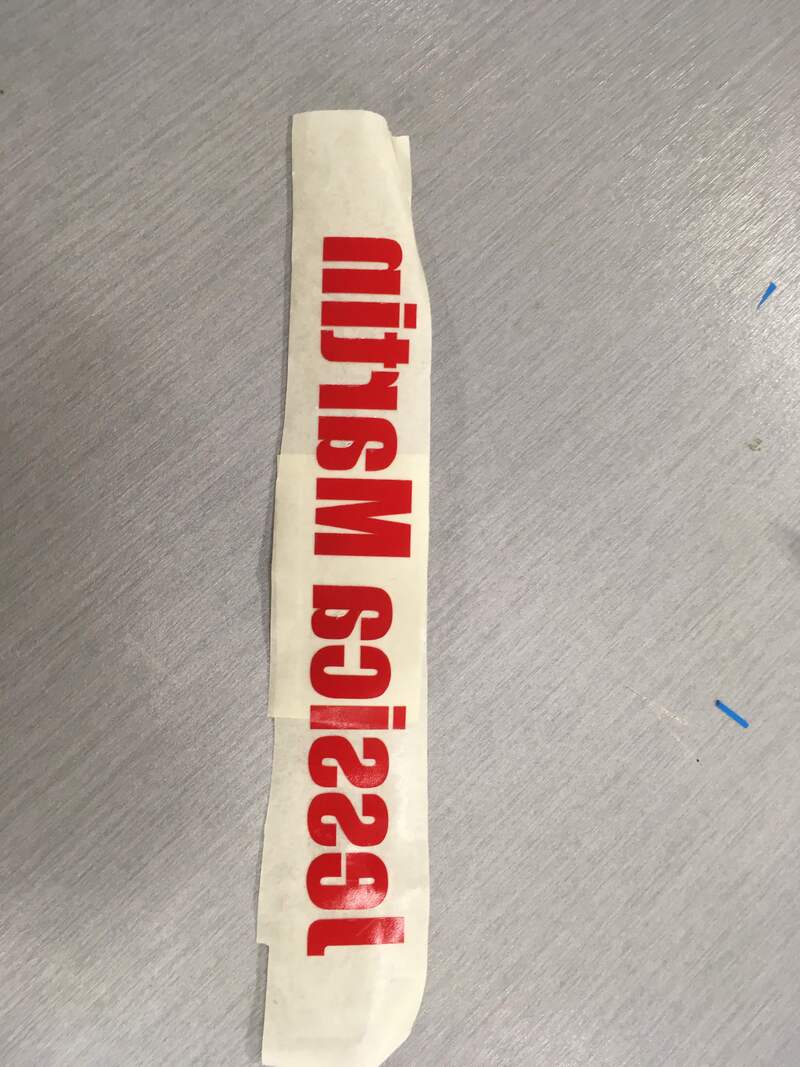
5) Put transfer tape on the front of the vinyl and use scrapper to apply pressure
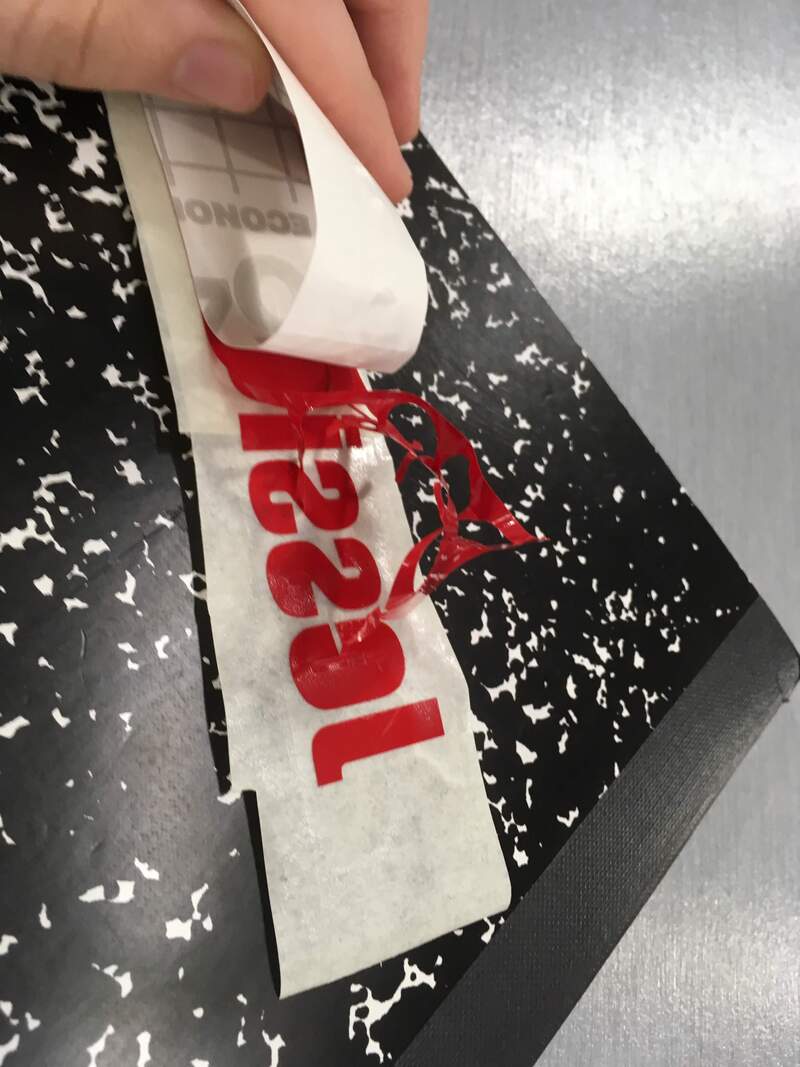
6) Remove the desired vinyl from the waste by pulling it at a 180 degree angle from the transfer tape
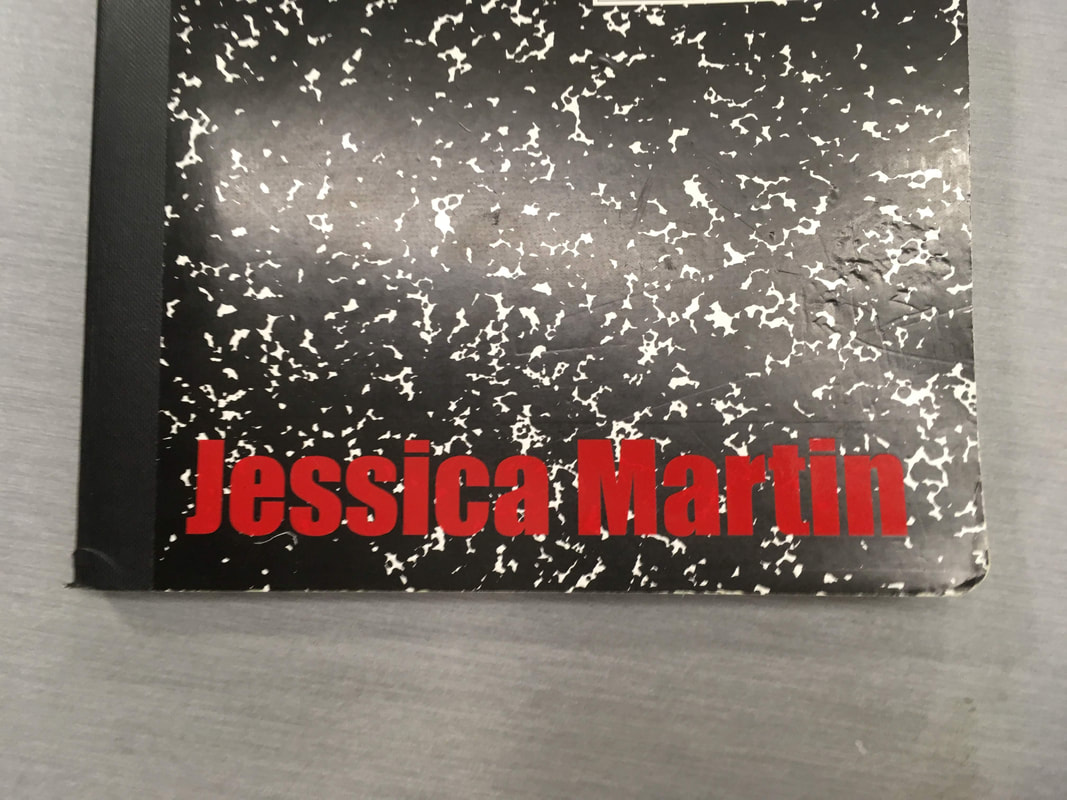
7) Place the transfer tap on the desired local on the notebook and use the scrapper to apply pressure
8) Peel the tape away at a 180 degree angle and use scraper to ensure that the vinyl is securely in place
1) Turn on and load vinyl cutter
2) Upload your design from your flash drive
3) Follow the directions on the sheet to print the image, making sure the image shows up on the bottom right hand side of the printing preview
4) Print Vinyl
5) Put transfer tape on the front of the vinyl and use scrapper to apply pressure
6) Remove the desired vinyl from the waste by pulling it at a 180 degree angle from the transfer tape
7) Place the transfer tap on the desired local on the notebook and use the scrapper to apply pressure
8) Peel the tape away at a 180 degree angle and use scraper to ensure that the vinyl is securely in place
I learned so much in this introduction to Illustrator, laser cutting, and vinyl cutting. I learned about vectors and pixels and how they both make images. I learned more about computer software and how electronic design works from working on Illustrator. I learn about how controlled laser cutting is at creating exact images. I also learned how easy it is to waste vinyl from the vinyl cutter. I learned a lot from using these machines.
