Inventor
Inventor is a computer program that allow you to make, assemble, examine, and eventually print three dimensional objects. Using the program you can pick a plane to make a sketch on. Once you start a sketch you can make, angle, and dimension lines to create a shape. The you can switch the setting to 3D mode and extrude to make a digital object. From there it's more extruding and cutting until you have your final product. Once you're finish you can use MakerBot to convert the Inventor imagine into something the 3D printer can read then then you just have to download the file, plug it into the 3D printer, and wait.
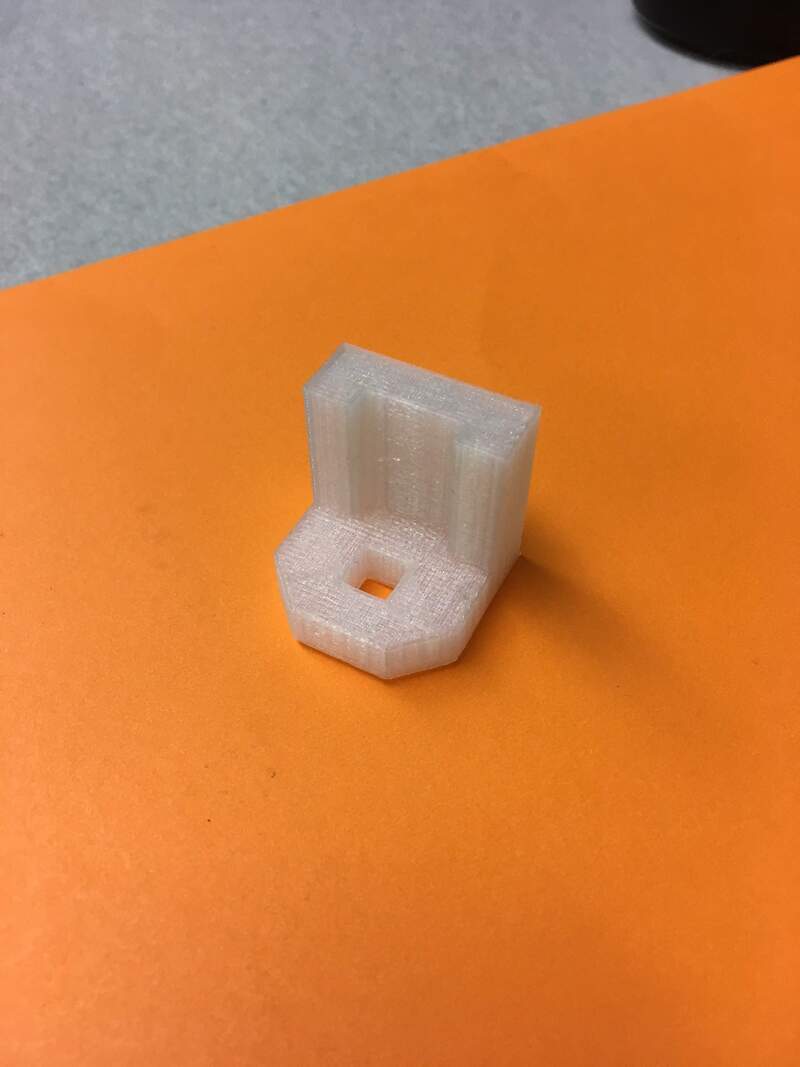
Below are six different Widgets, the last of which I 3D printed.
1) Creating the digital model
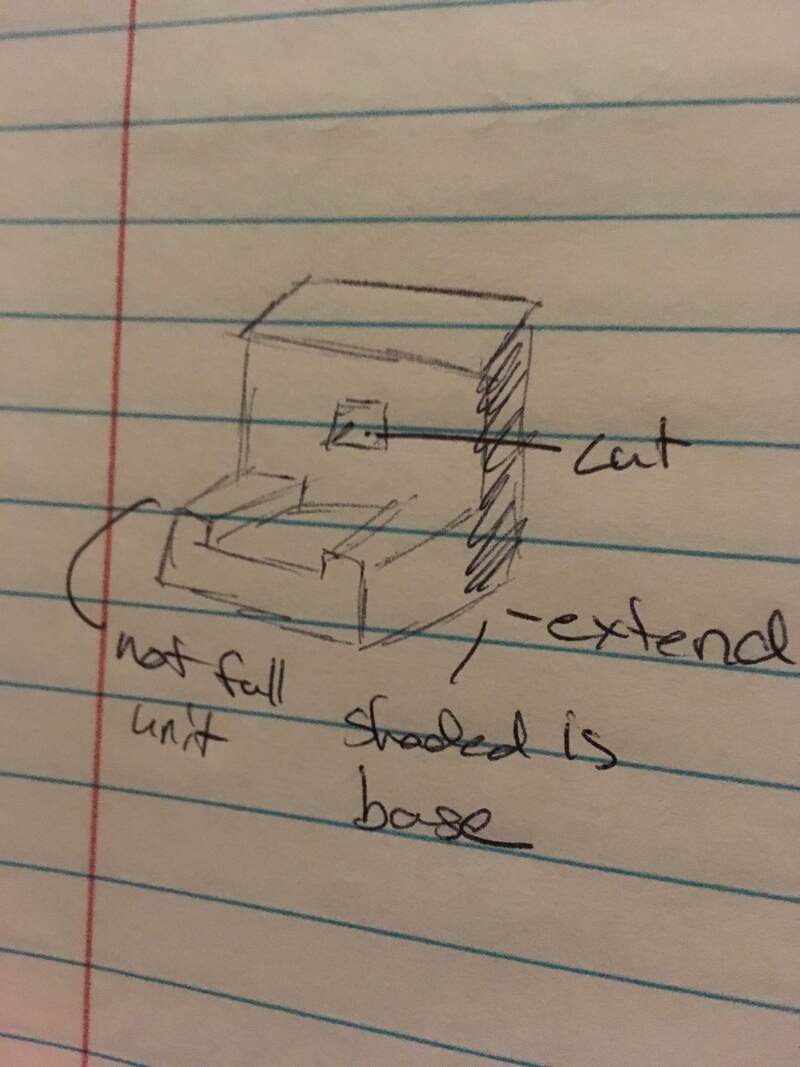
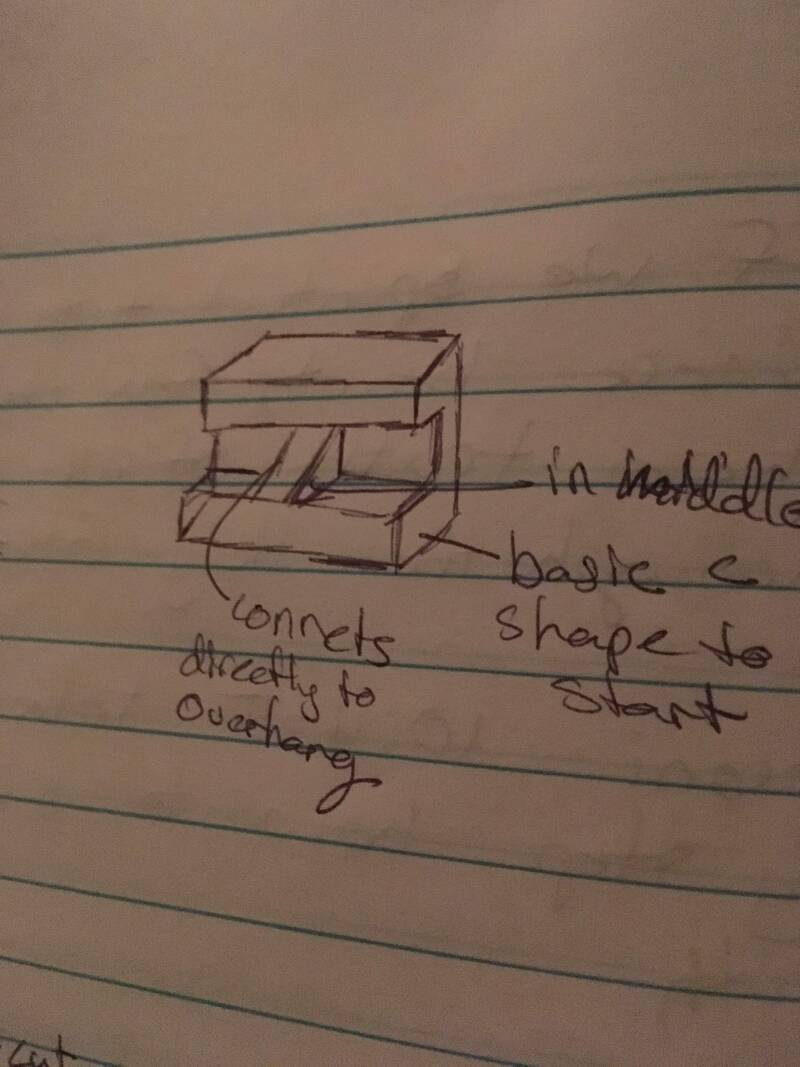
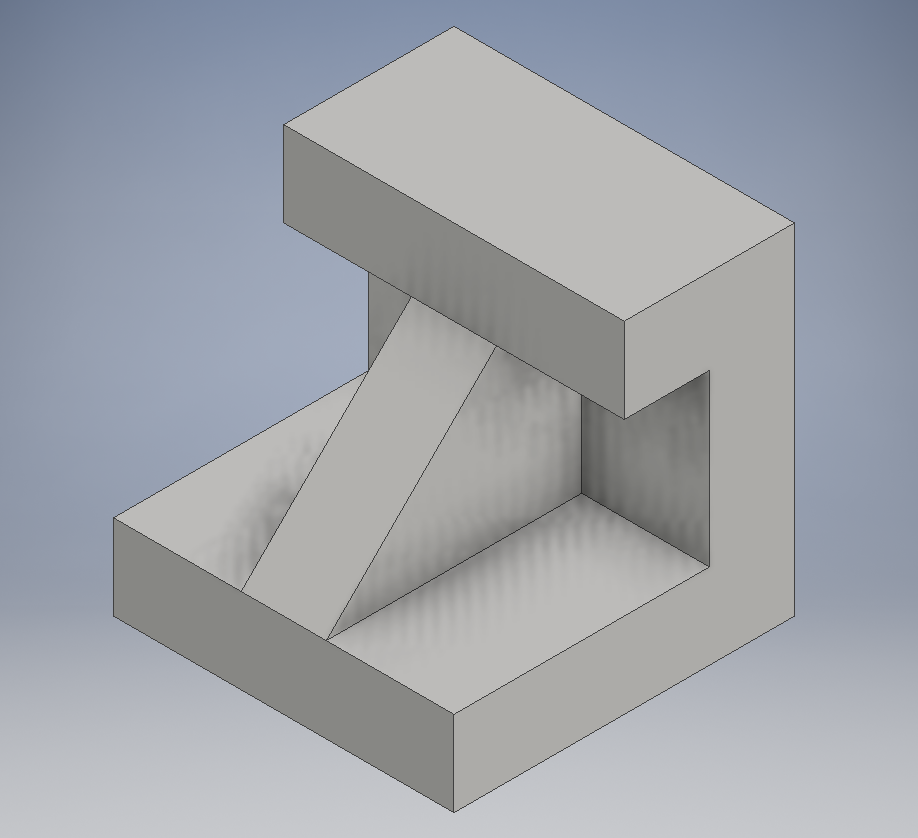
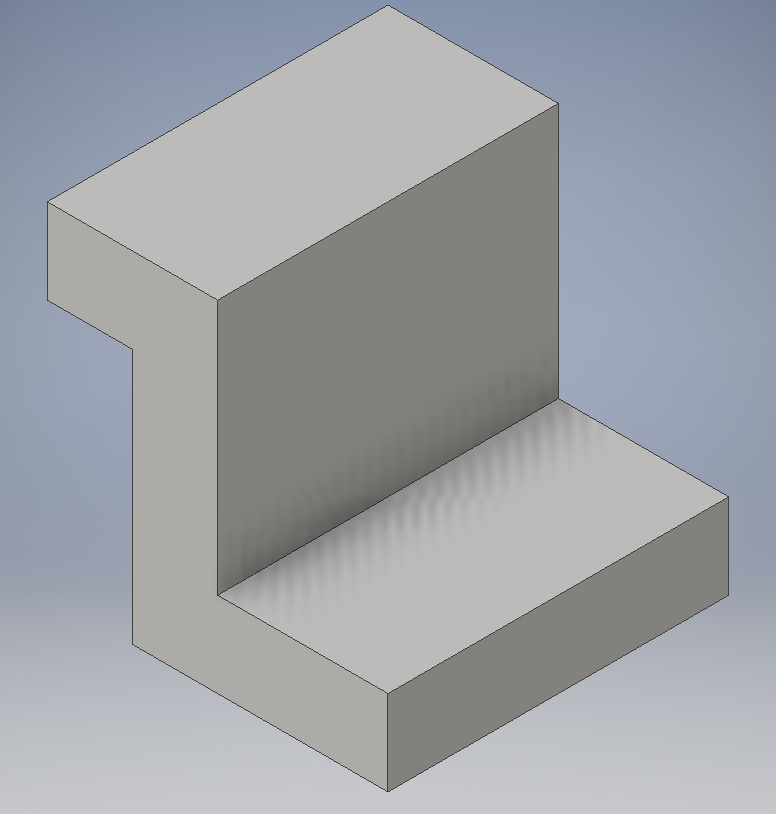
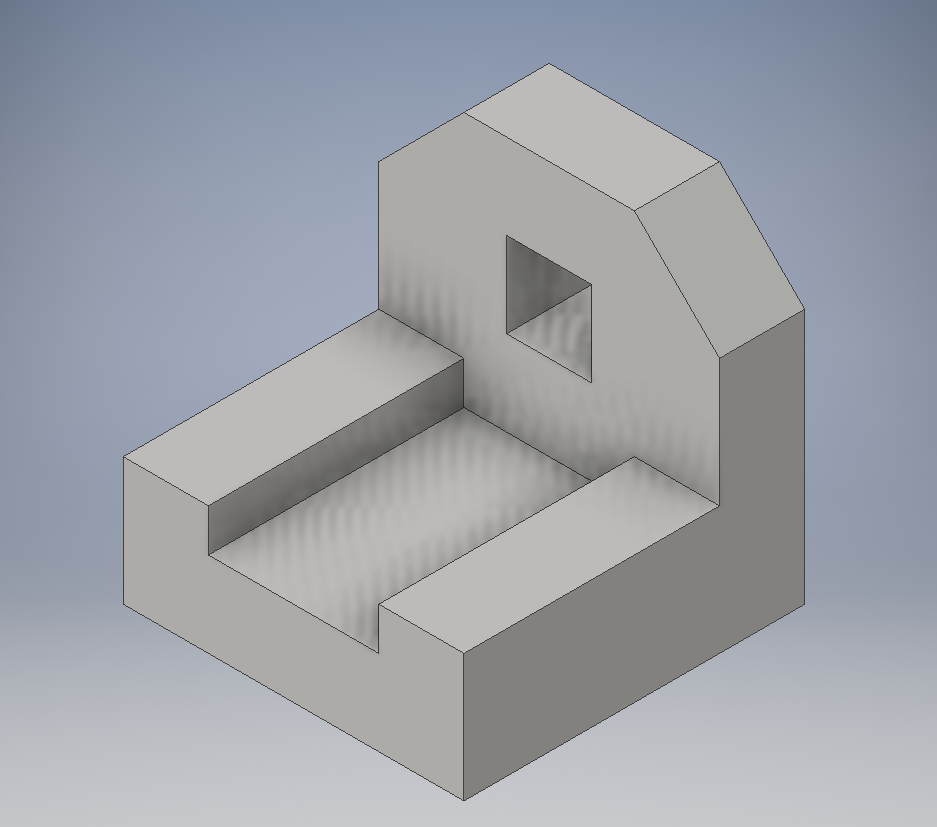
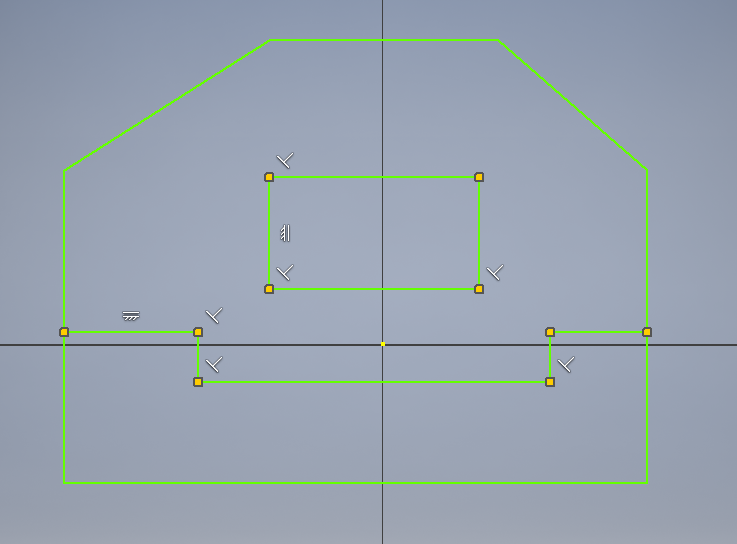
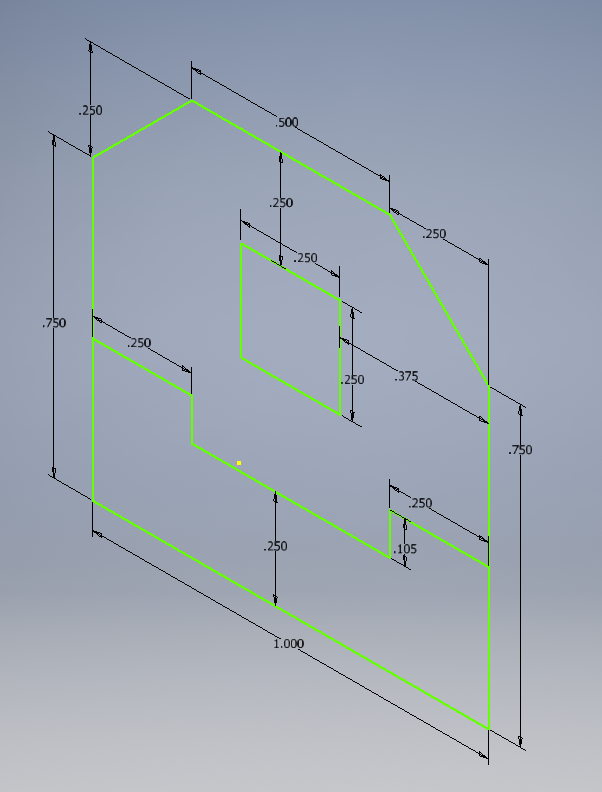
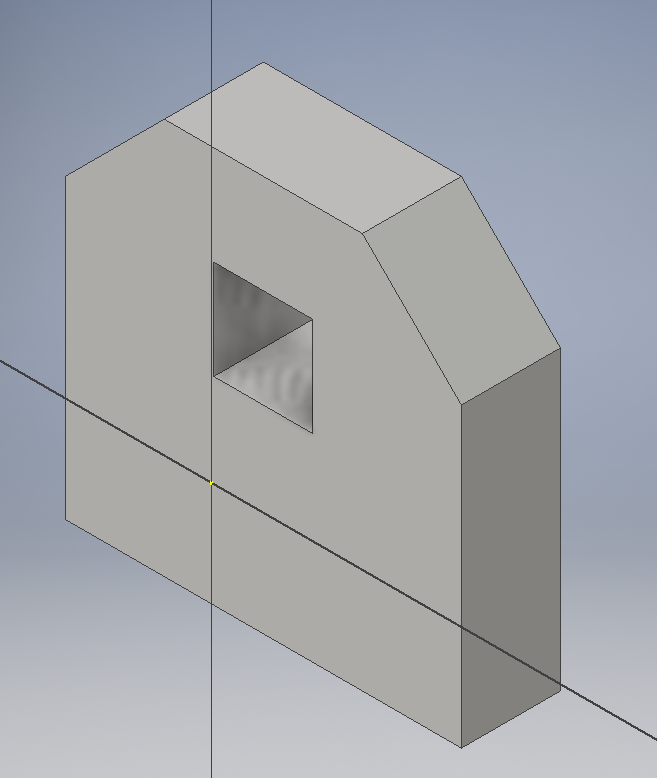
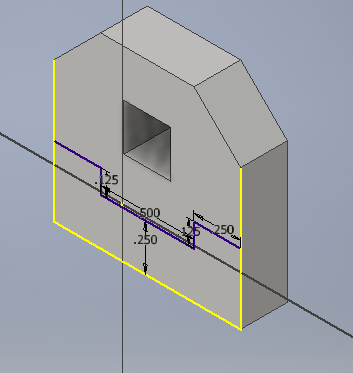
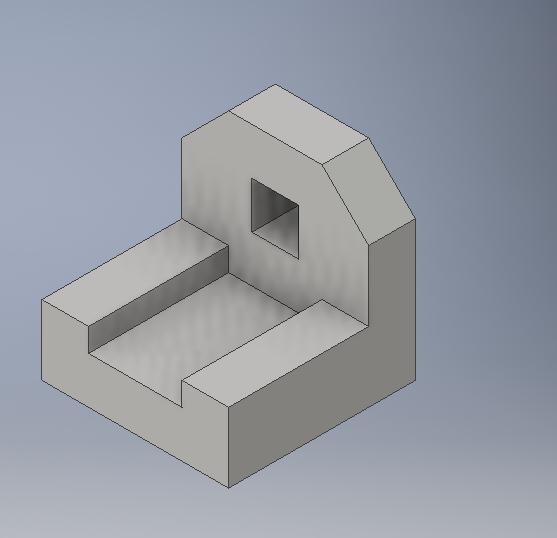
First start the sketch, select the plane, and make the first general outline of the widgit you want to print, as in the top left image. The next image to right shows the next part, dimension the sketch to make all the measurements and angles correct. Next, you make the first extrusion as in the third image, This will be the base for the next sketch as we add on to finish the widgit. Start the next sketch on the base to outline the part you need to extrude. Finish the extrusion to the right length and save your widgit to print.
First start the sketch, select the plane, and make the first general outline of the widgit you want to print, as in the top left image. The next image to right shows the next part, dimension the sketch to make all the measurements and angles correct. Next, you make the first extrusion as in the third image, This will be the base for the next sketch as we add on to finish the widgit. Start the next sketch on the base to outline the part you need to extrude. Finish the extrusion to the right length and save your widgit to print.
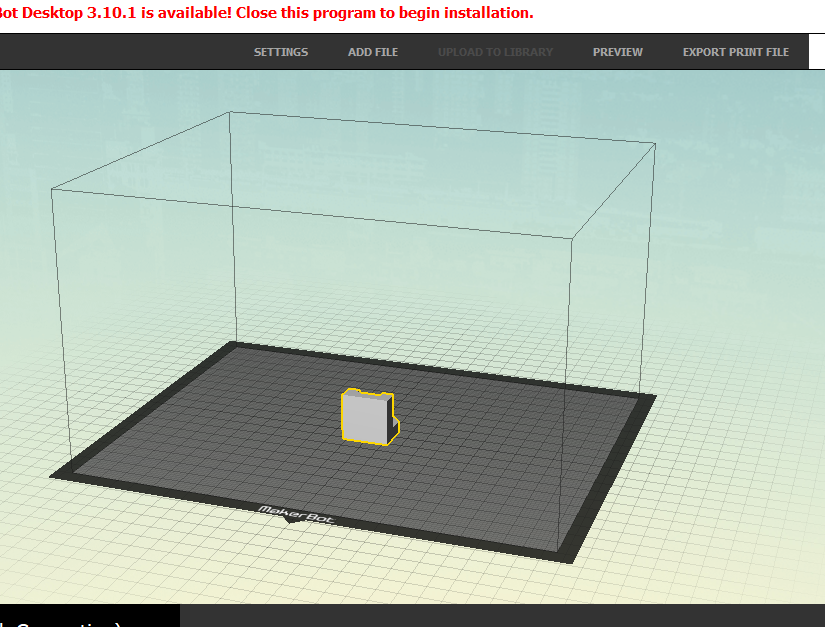
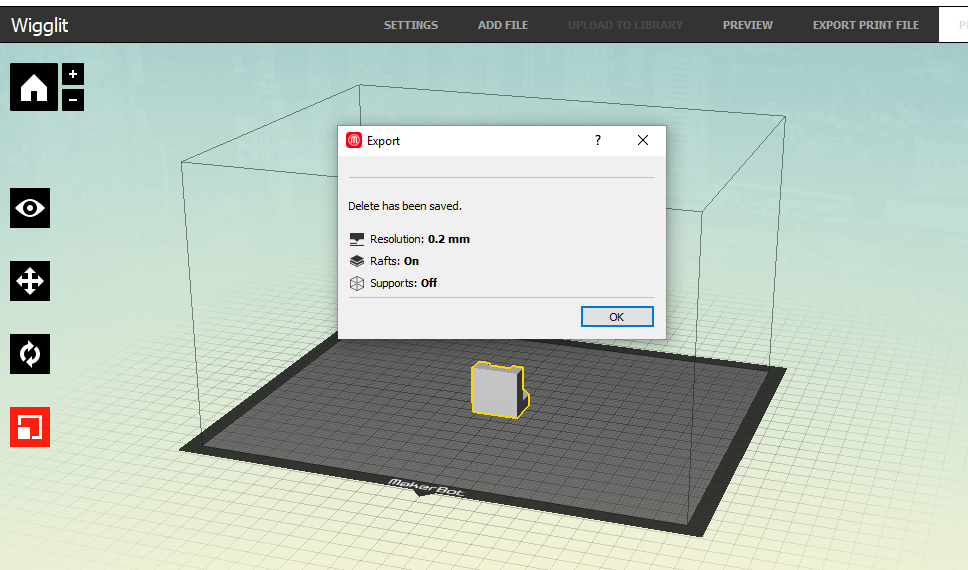
2) Translating the model into MakerBot
Most of the instructions for using MakerBot are in the resource packet, the important thing to remember is the correct conversion rates and to be careful to follow all the instructions one time to try and get it right the first time.
Most of the instructions for using MakerBot are in the resource packet, the important thing to remember is the correct conversion rates and to be careful to follow all the instructions one time to try and get it right the first time.
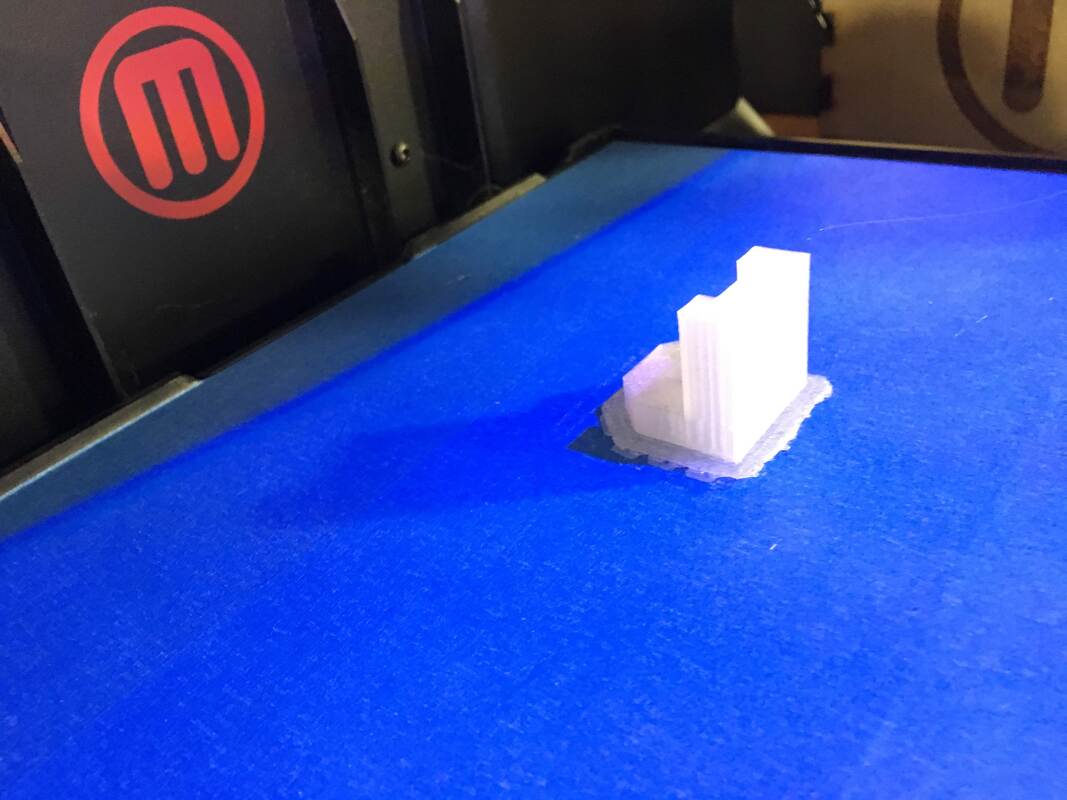
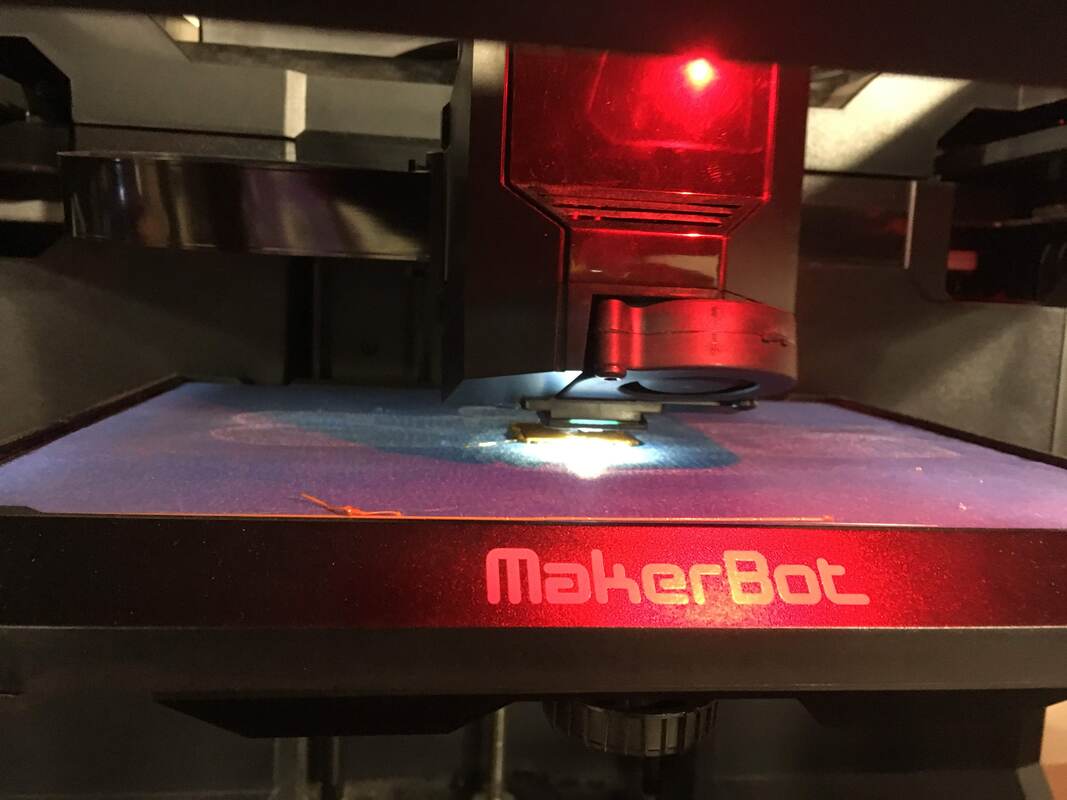
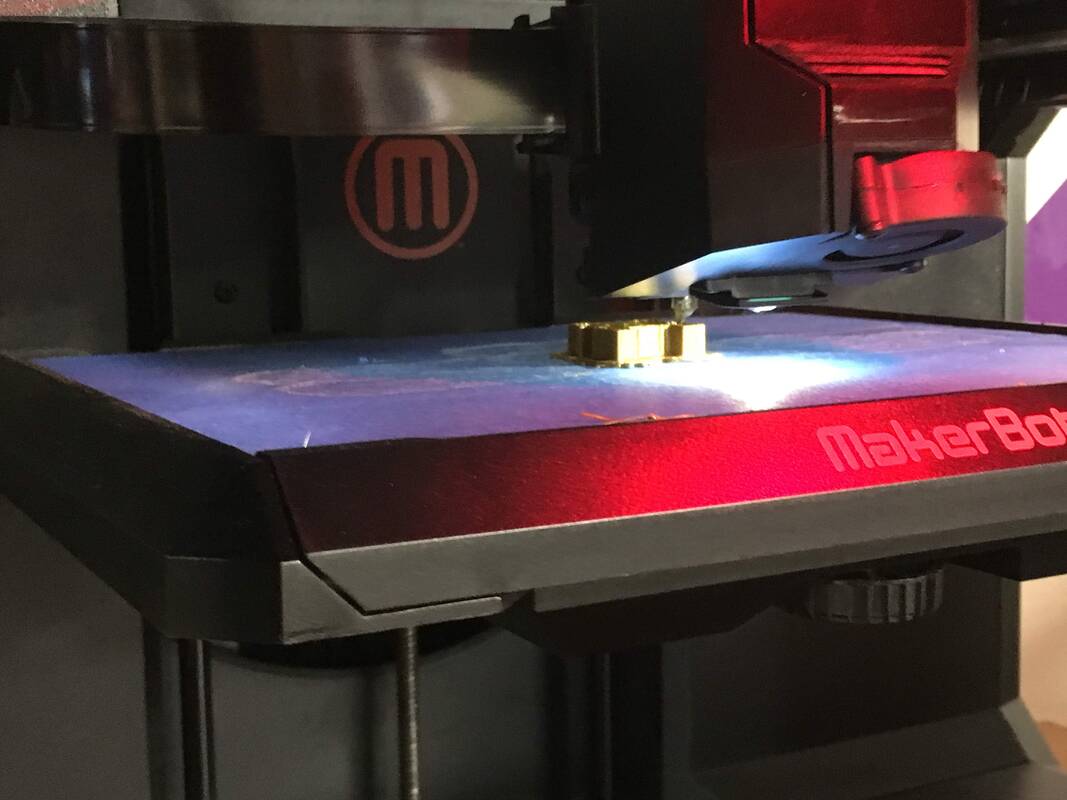
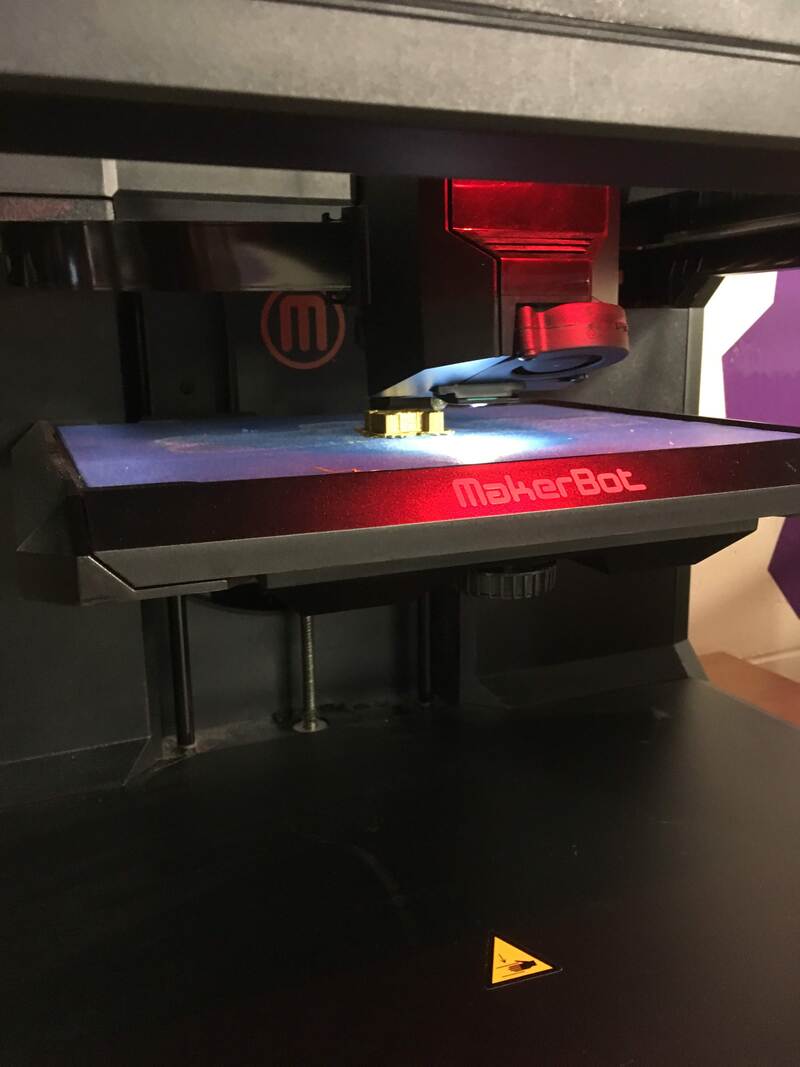
3) Printing
At long last, you just insert the USP drive into the 3D printer, select the right file, and wait for the printing to finish.
At long last, you just insert the USP drive into the 3D printer, select the right file, and wait for the printing to finish.
In this introductory project to 3D Printing I learned that it sounds a lot more overwhelming than it actually is. Growing up I'd hear people talk about it as a manifestation of the future, but it's still a step by step process like anything less. Anything can be broken down into tasks that are comprehensible and possible. I learned the basic skills on inventor and MakerBot to be able to make simple opjects like these. There was more converting than I had expected because I hadn't realized there are so many different computer languages. In the end 3D printing is a sketch on three axis' can when viewed as such can make it easier to break things down and understand the process better.