Water Bottle Project
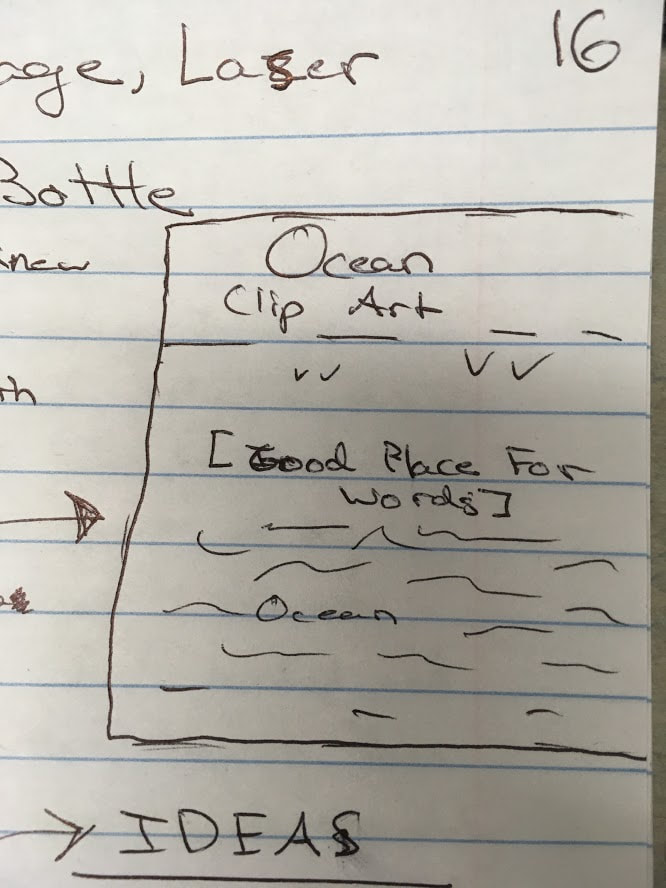
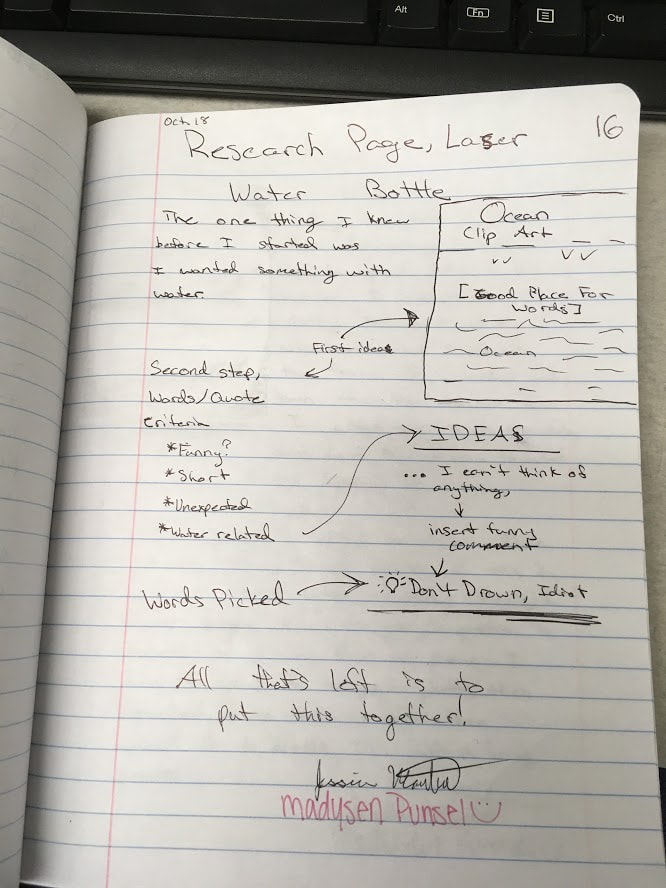
The first part of the project was the preparatory search and brainstorming for my project. I first outlined the criteria I needed to fit into, then I did an initial search, then I selected by top options. I listed the pros and cons of my selection and then proceeded with my top pick.
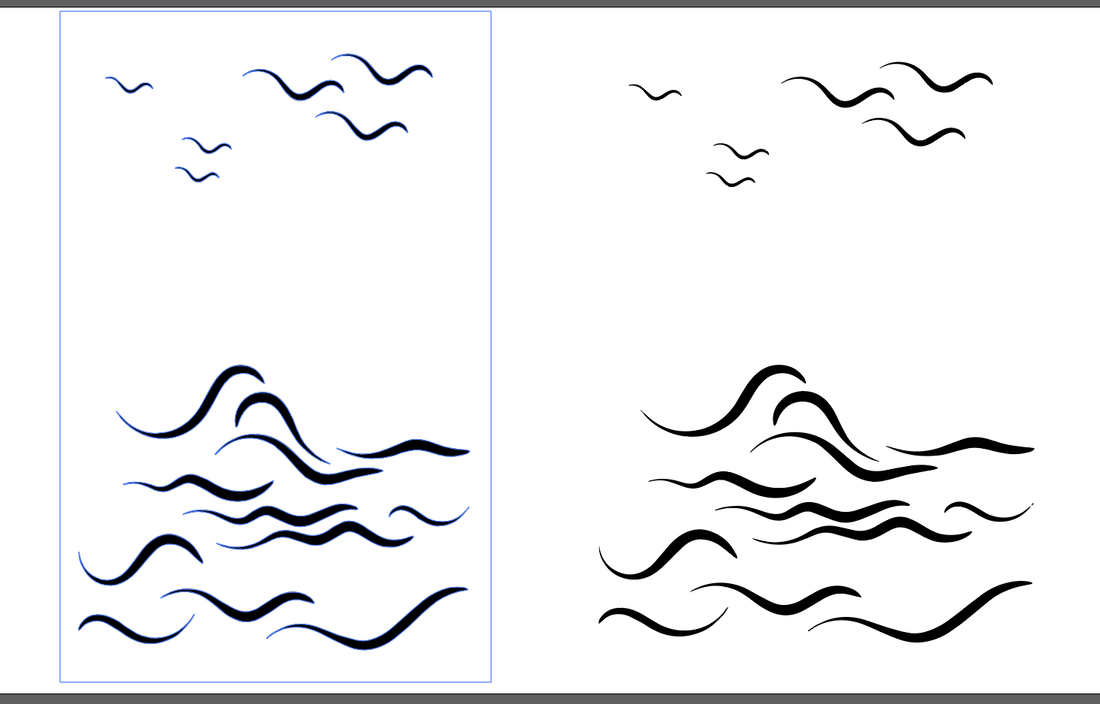
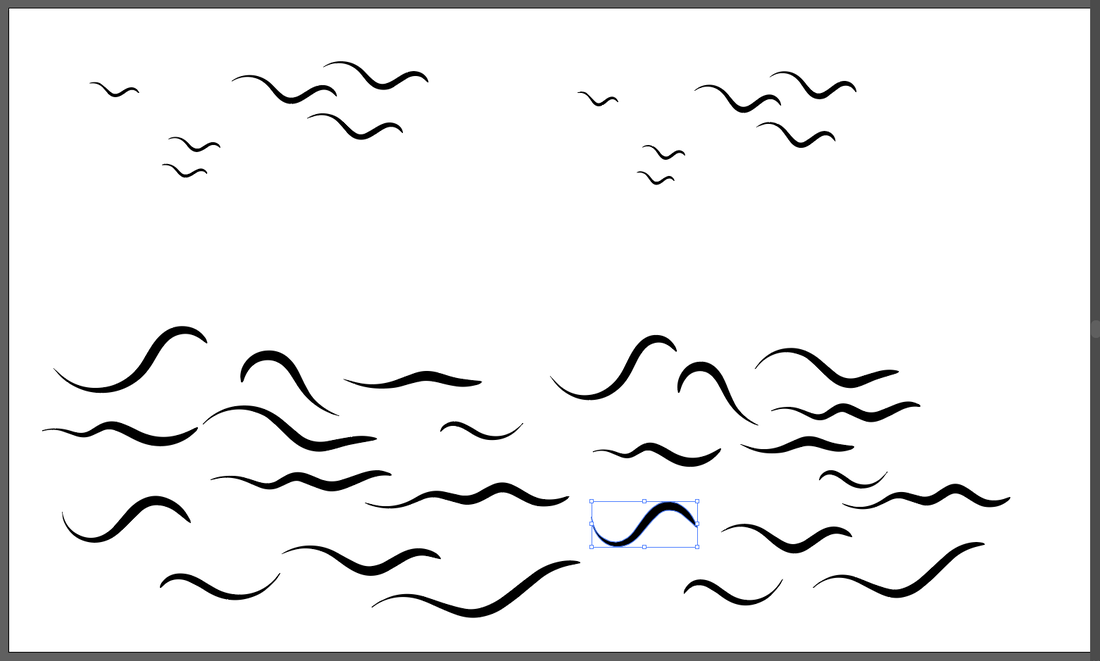
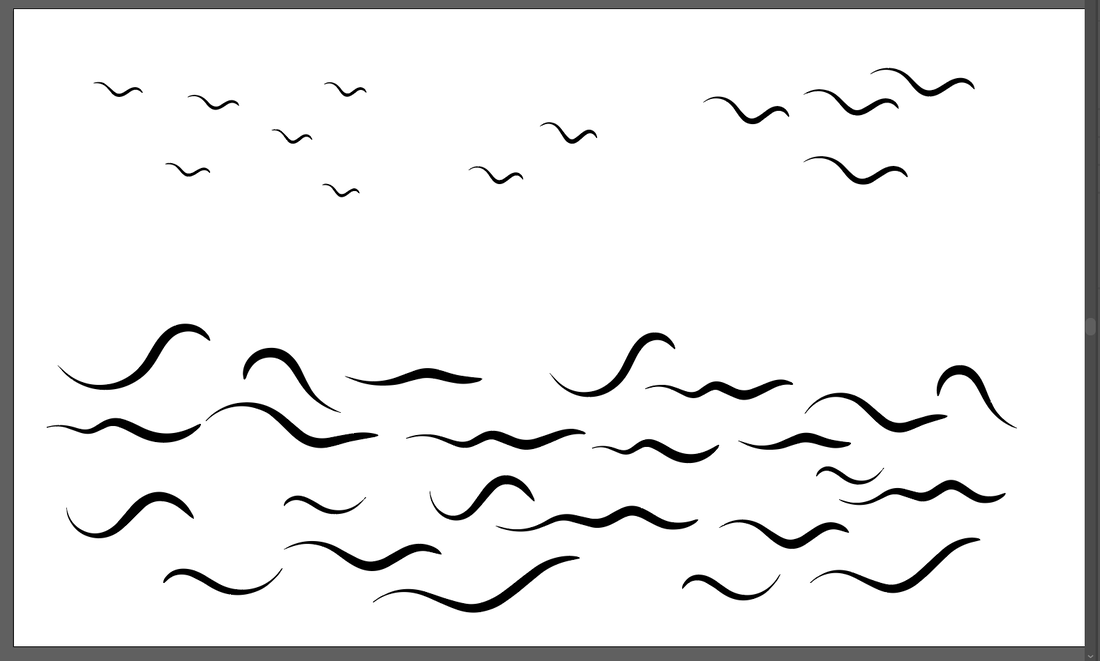
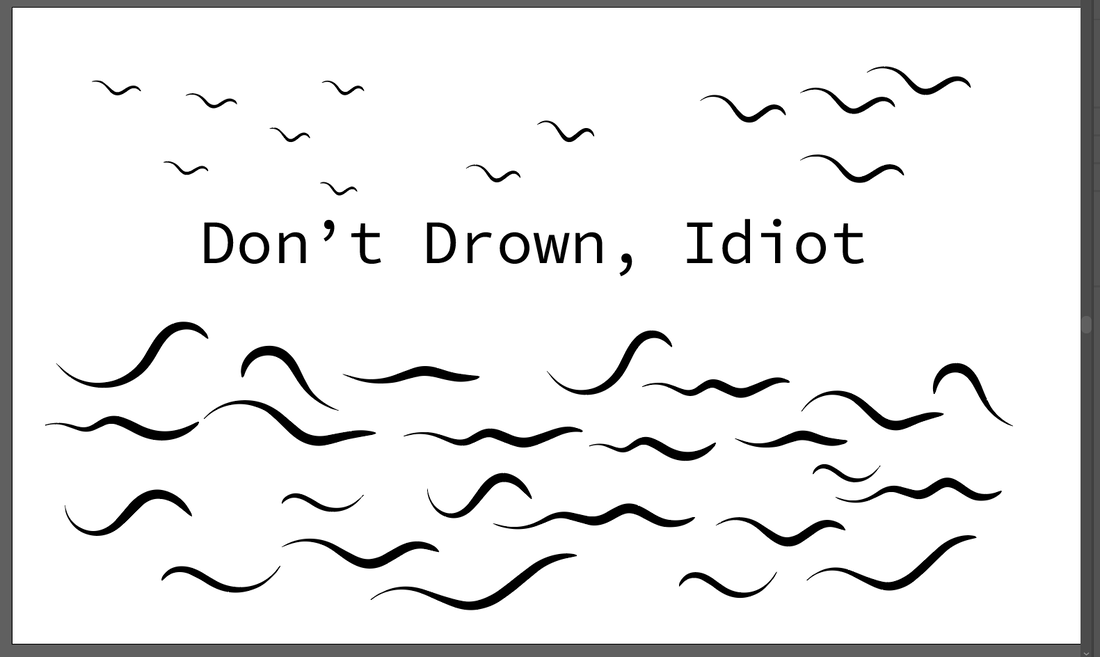
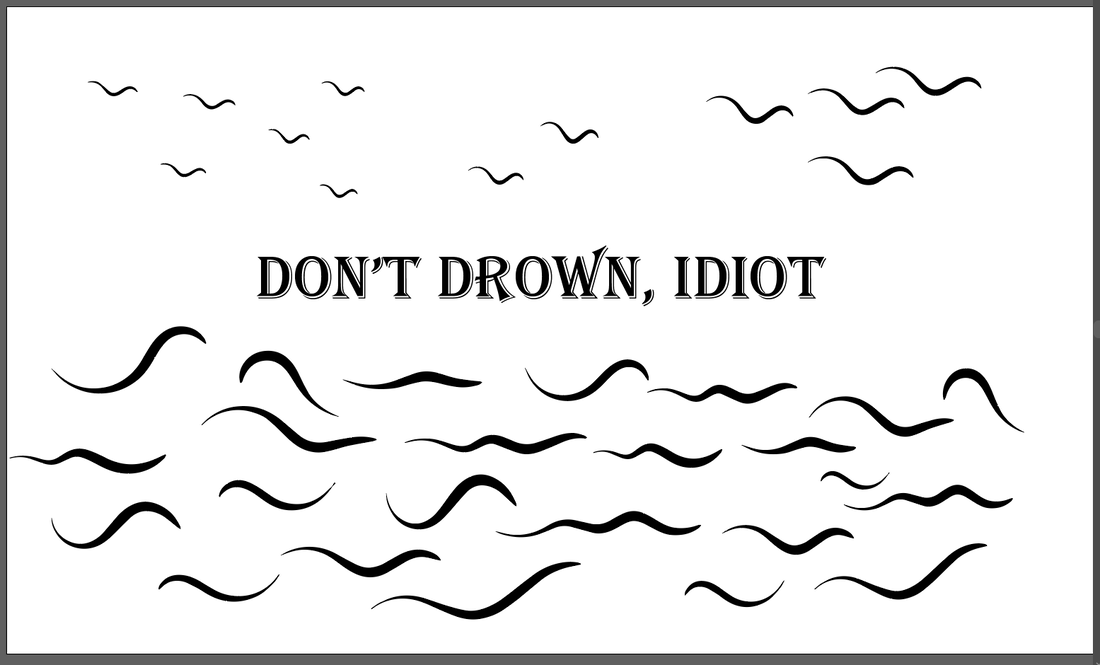
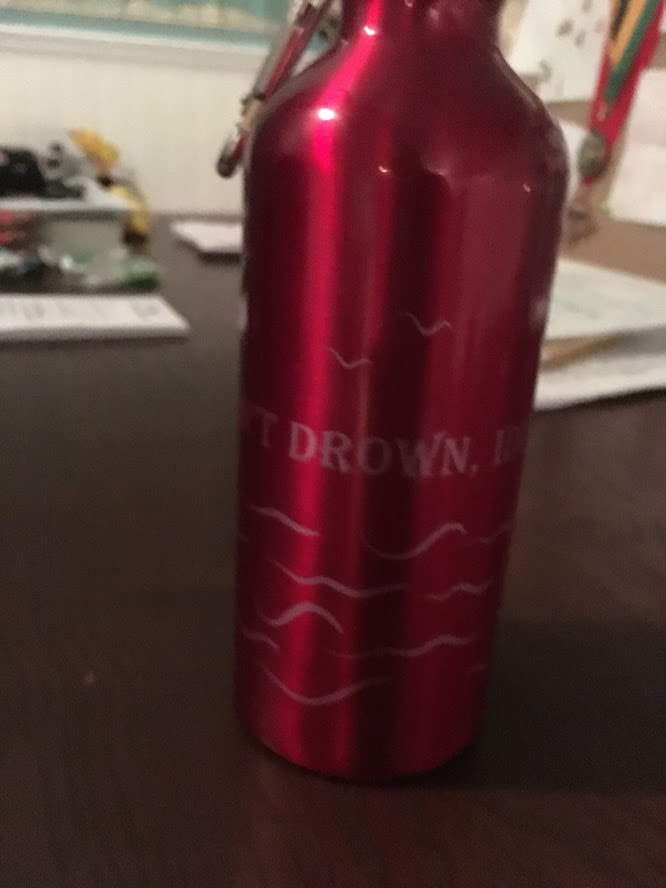
Next I started making the file to engrave. I found an image to base my project on, but it was vertically oriented rather than horizontal. I pasted the image onto my art board twice and un-grouped the expanded and imaged traced shapes. I changed the sizes of some of the waves and altered the orders so it seemed more like one seamless image. The I changed the sizes of the birds to denote distance while fulling the whole top of the image. The I added the text and chose my font.
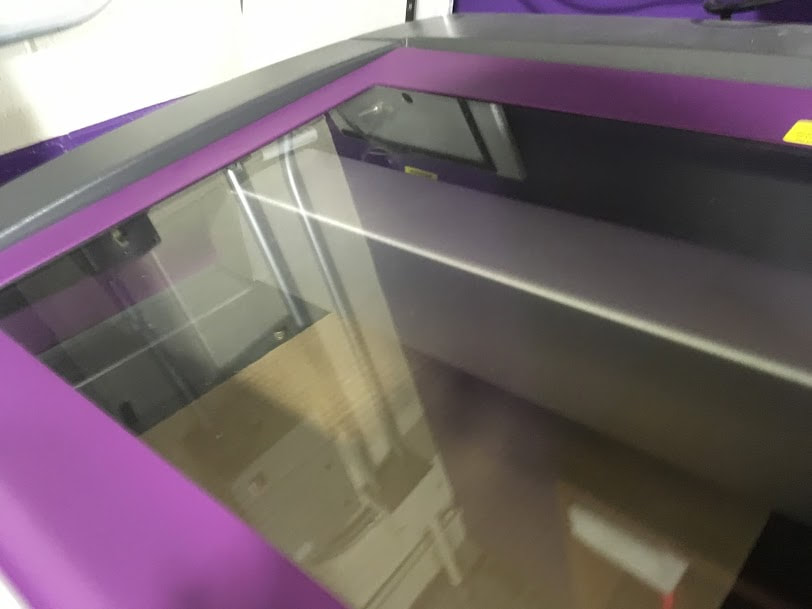
The I took my files to the laser and followed the instructions to print!
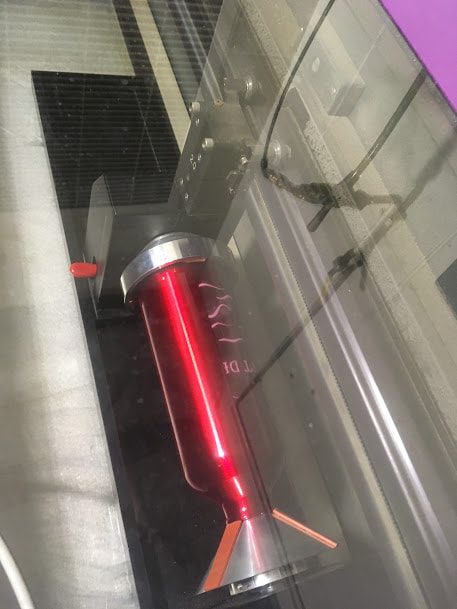
In this part of the rotation I learned how to use the rotation jig. I was surprised at how easy the setup is. The way the jig connects to the laser to make the process coordinated perfectly is just amazing. Load the jig was also surprisingly easily. It was a lot easier than it looked in the demonstration.
Notebook Project
The first part of the project was similar to the first project: the preparatory search and brainstorming for my project. I first outlined the criteria I needed to fit into, then I did an initial search, then I made a sketch of my idea. I listed the pros and cons of my selection and then proceeded with my idea.
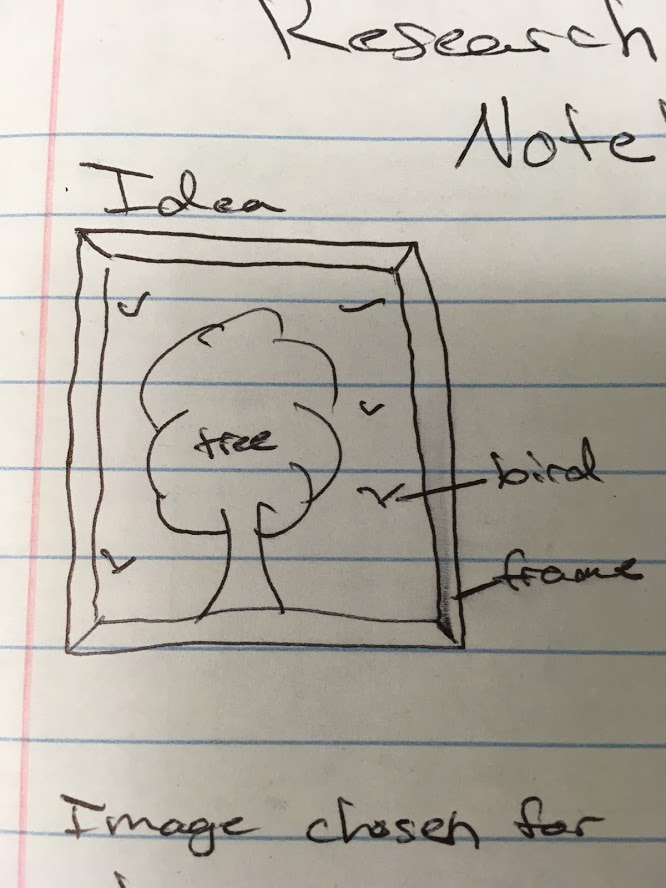
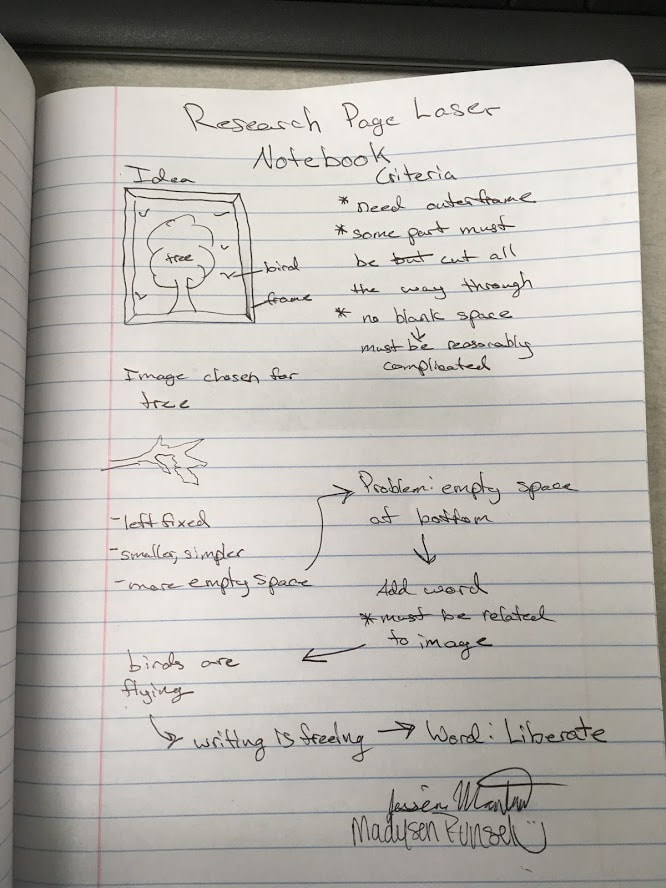
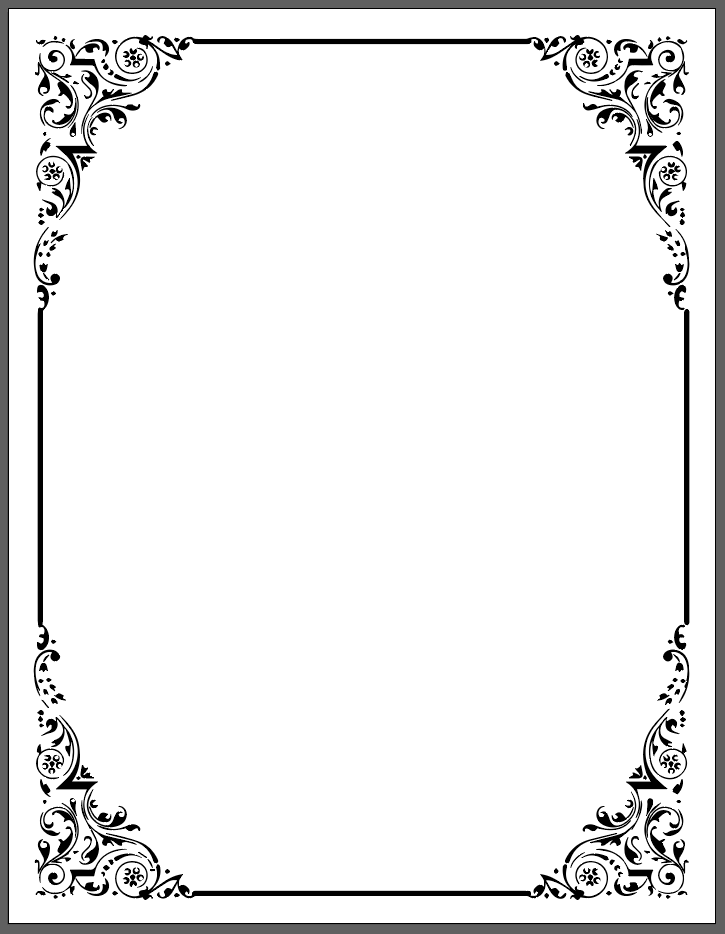
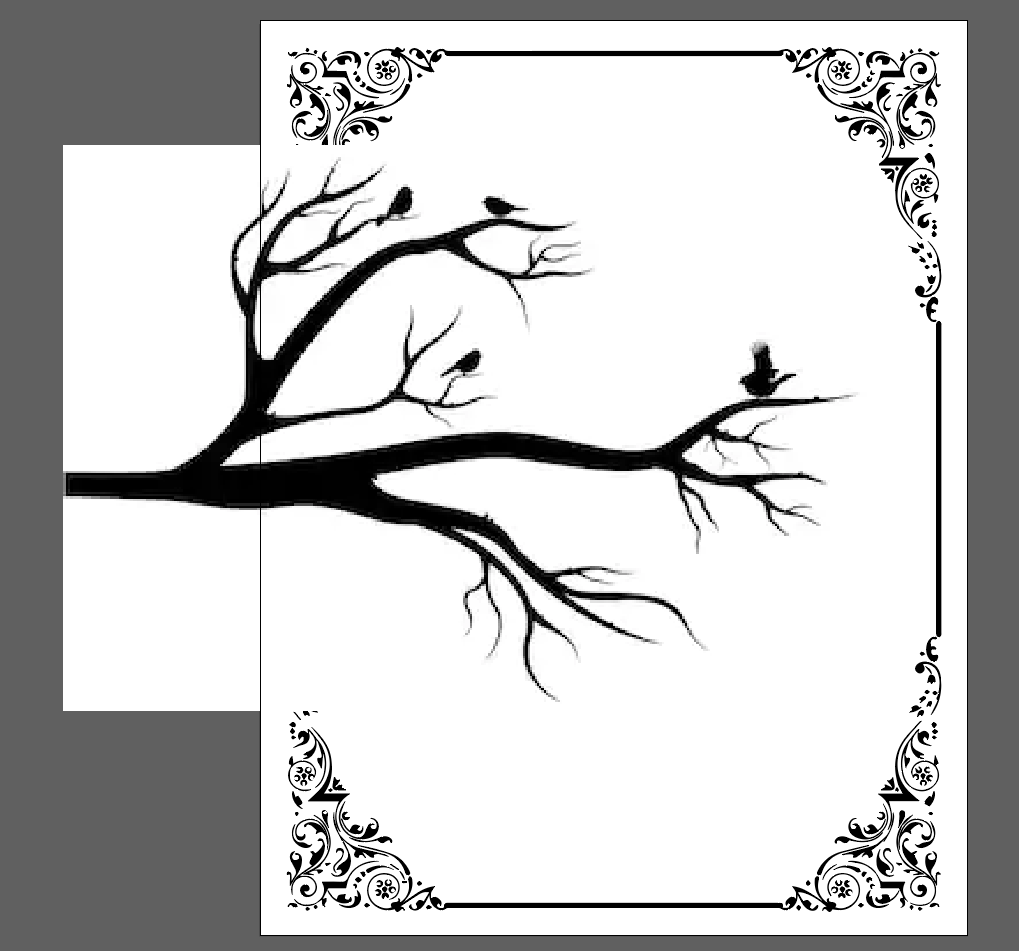
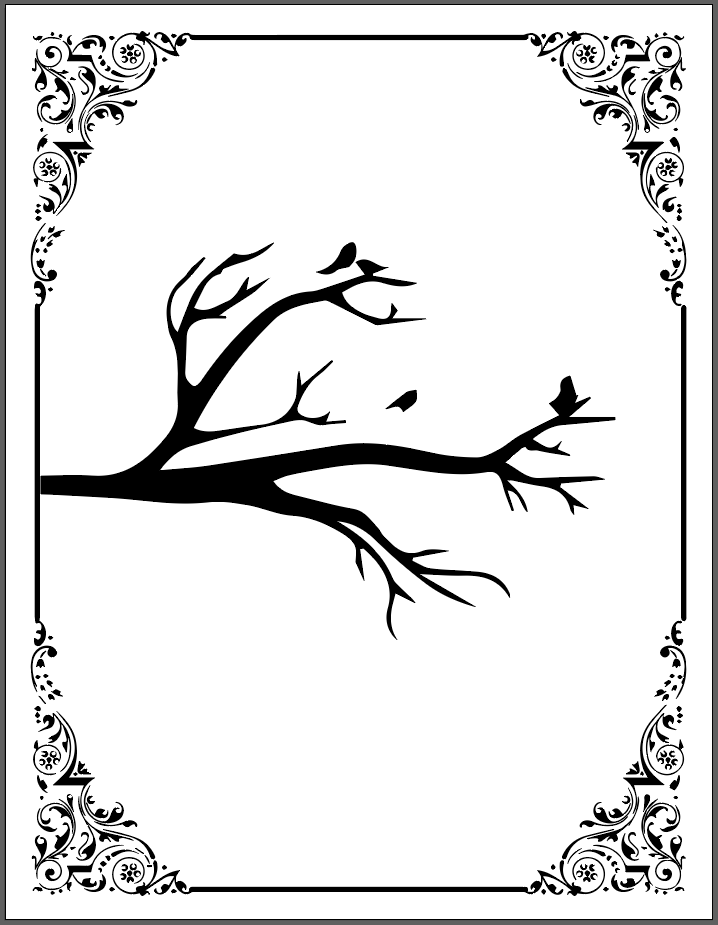
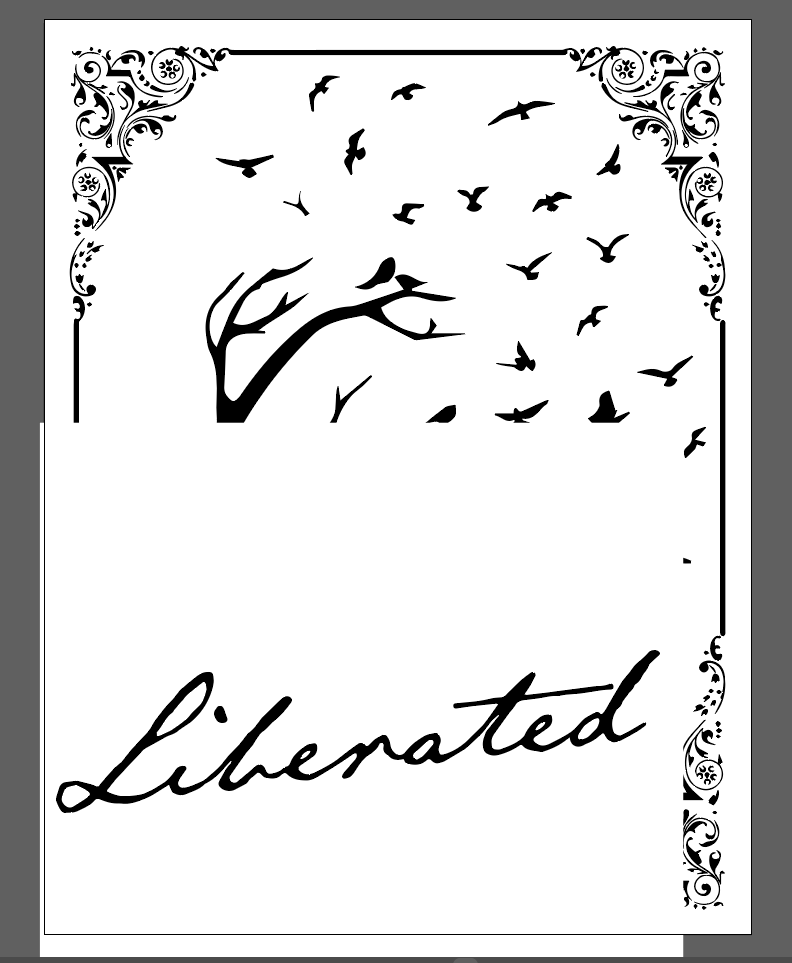
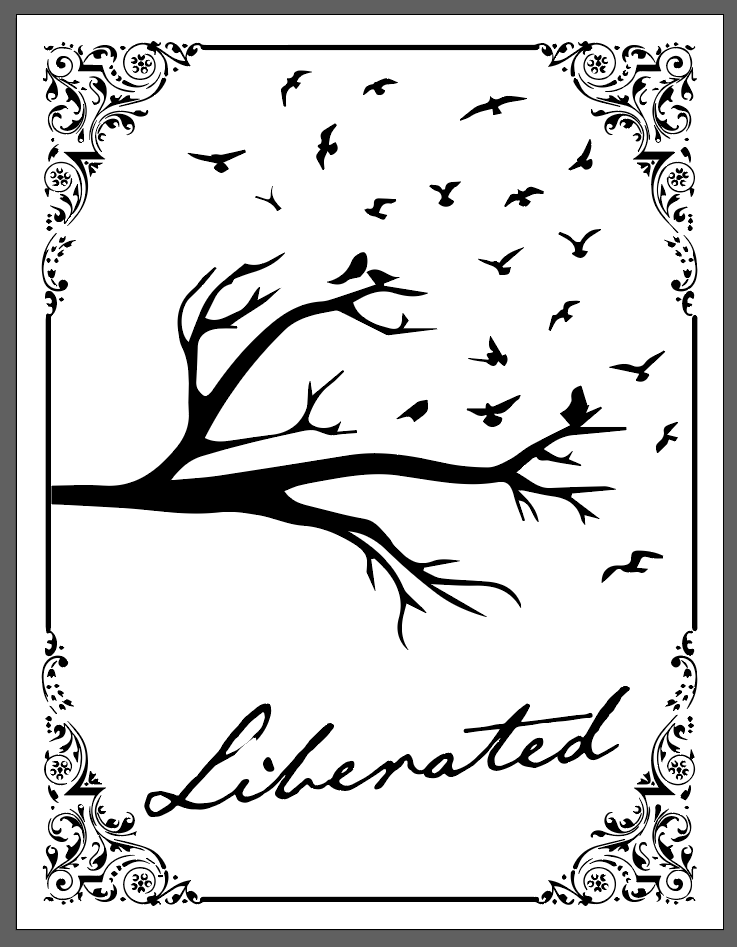
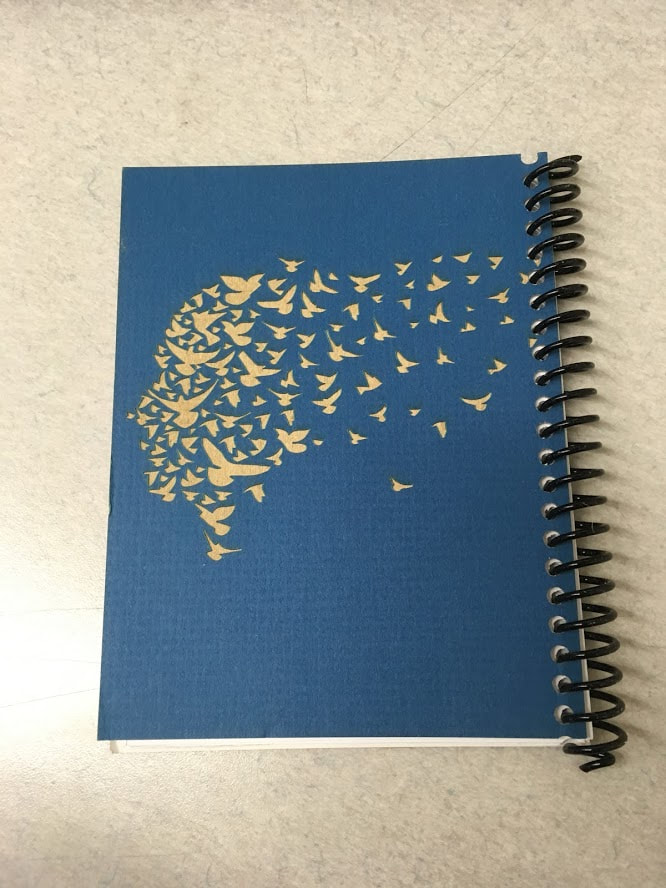
With the design for this I wanted a classy boarder, so I pasted, traced, and expanded a classy boarder. I wanted to add a dramatic tree branch to tak up most of the cover. It had a few birds on it so that gave me the idea to add more birds. I found an image online with similarlooking birds, so I added those and ungrouped the image so I could place them more naturally around the tree. The bottom of the image looked empty so I added the word liberated to go with the bird theme and I the moved on to making the back cover.

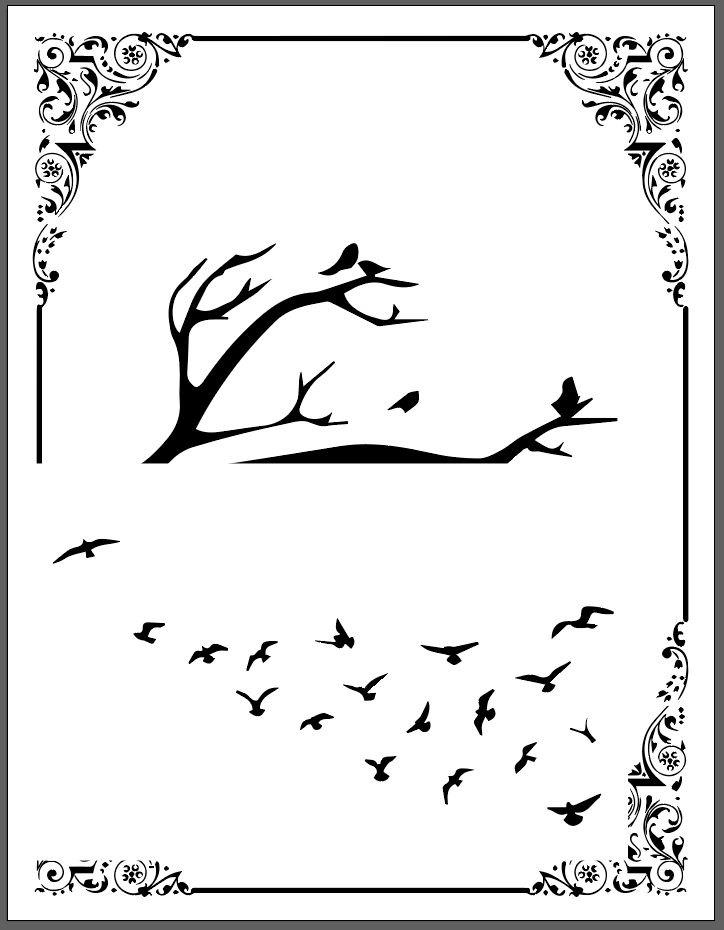

The back cover was even more simple. A quick bird search gave me the perfect image, exactly the right amount of drama. I posted it in the art board next to the cover and it was ready to print.
|
|
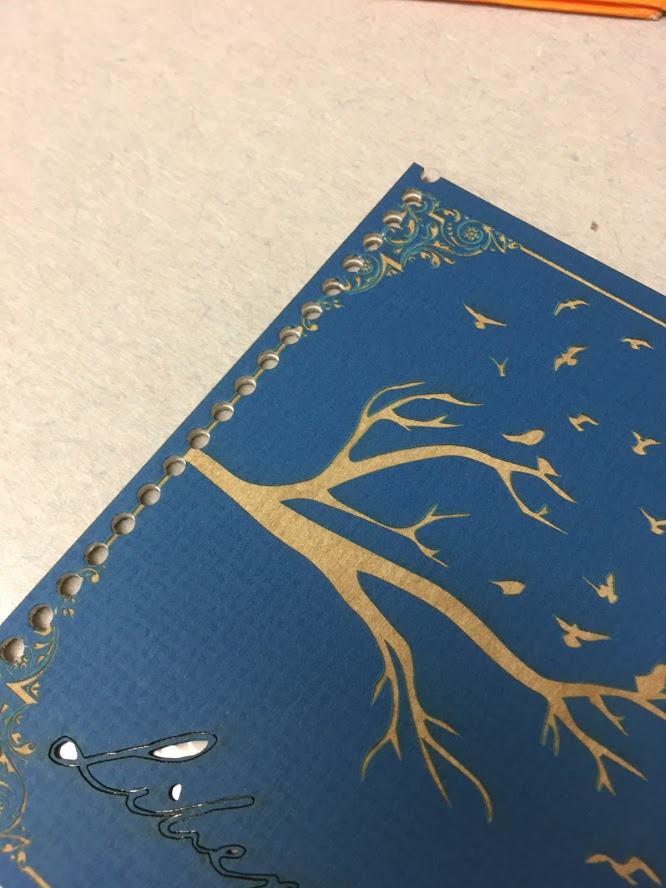
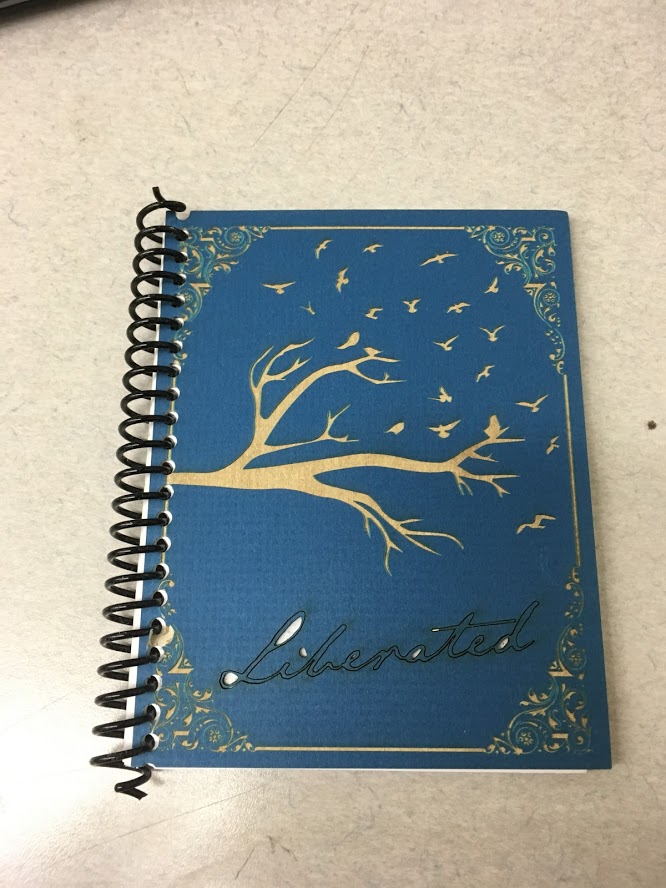
Then all that was left was to print and cut the holes.
|
I learned more about the computer setup of the laser printer with this. I learned how much easier it was to print with the laser when the covers were apart of the same file. I learned about the tools in illustrator. I learned about how simple designs can look important and carry weight. I also learned the using the laser is much of the same simple process with a few minor changes. All the difficulty of using the laser is in mastering the small differences for the projects.
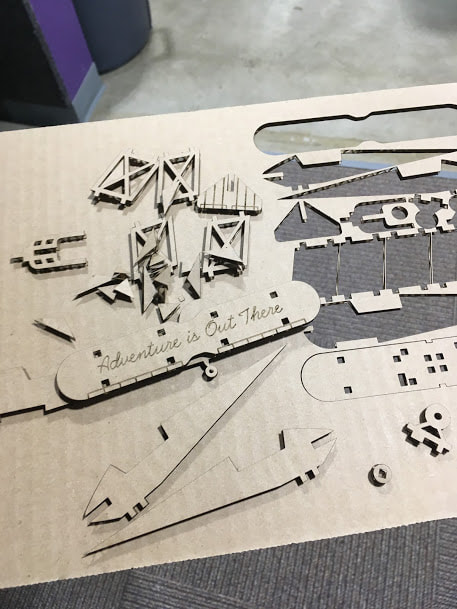
Airplane Project
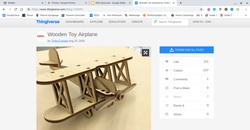
I didn't do a lot of brainstorming, I mostly explored on thingiverse and found this airplane. It fit the criteria so I decided to make it.
The files were all complete so all I had to do was print and assemble the project. Of course I messed that up. I chose the wrong setting, for cord board, and it turned my cardboard to ash. It cut cleanly the second time!
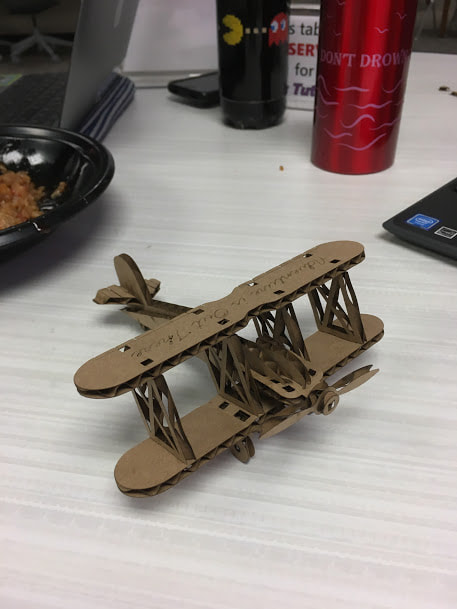
From this project I learned what can go wrong. The worst case scenario happened here, which is that my project got crispy and I had to start over. I learned how easy it was to restart the printing process. I also learned what a valuable resource thingiverse it. It's incredible to have so much available to learn from. As a concept, these projects made using a laser much less intimidating.
